Showing posts with label Cooking and Recipes {Food}. Show all posts

Thursday, December 22, 2016

Christmas Cookies 2016

Today we made our Christmas cookies...like we do every year. Two will be for Santa and the rest will be for us! This endeavor started out a little rocky for the boys (and me, by extension). They were cranky (for some unknown reason) and therefore, fought with each other quite a bit during the dough-making part. It was so much fun (insert eye roll).
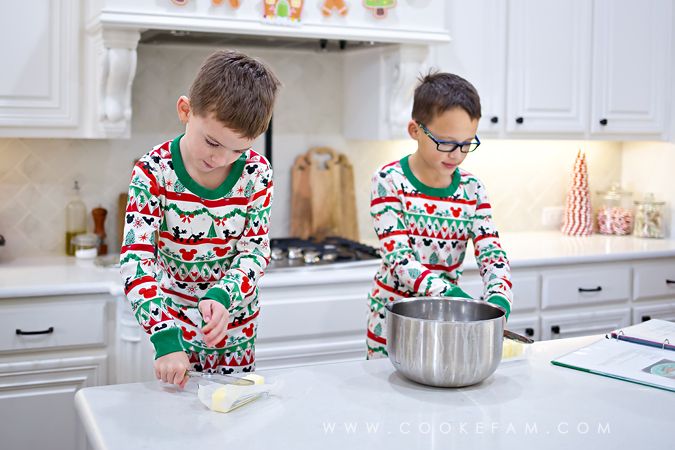
 photo DX0A3248_zpsgb1cvk7r.jpg

They cut up their own sticks of butter this year. Any recipe that starts out with two sticks of butter is a winner in my book. 
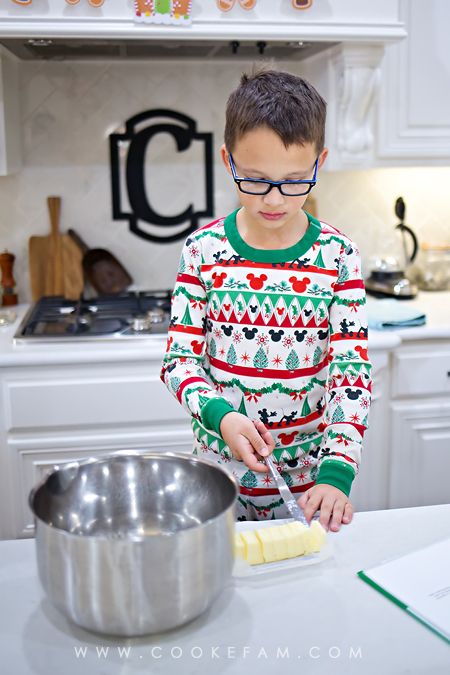
 photo DX0A3249_zpshkbewppy.jpg

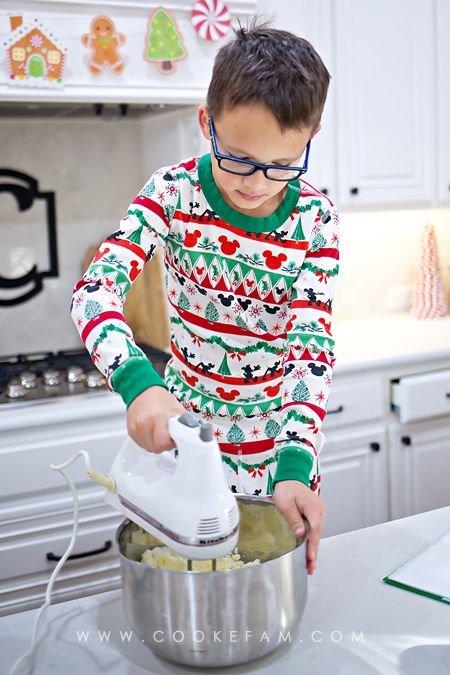
They took turns with the mixer. They're getting good at not flinging food all over the place when they use it. 
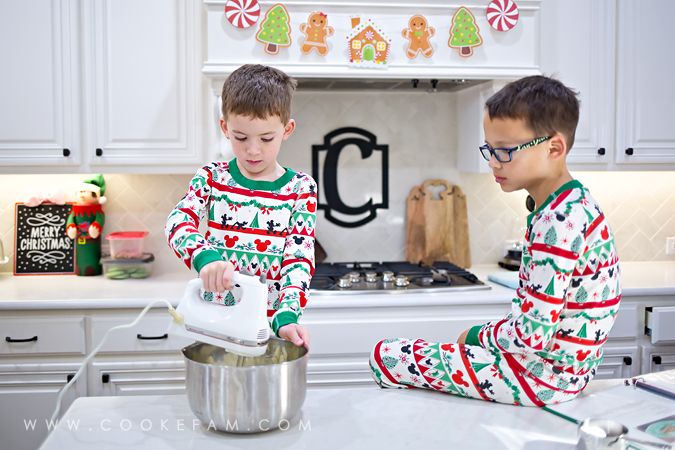
 photo DX0A3253_zps2ps3romy.jpg

 photo DX0A3255_zpst5dlhtee.jpg

They each got to crack an egg and we had no shells that we had to fish out. So, good job, boys. 
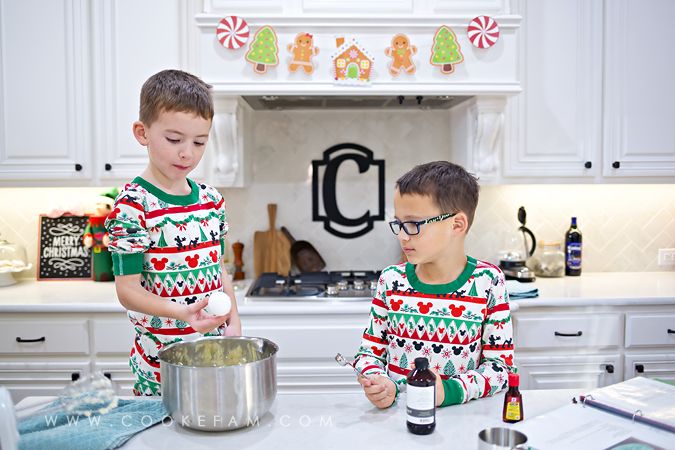
 photo DX0A3260_zpsshvvdngb.jpg

They had to share the rolling pin too. Every year I think, "we should get another rolling pin so they can do this at the same time." And then a whole year goes by before we use the rolling pin again so I forget about it. And really, we don't need another one. 
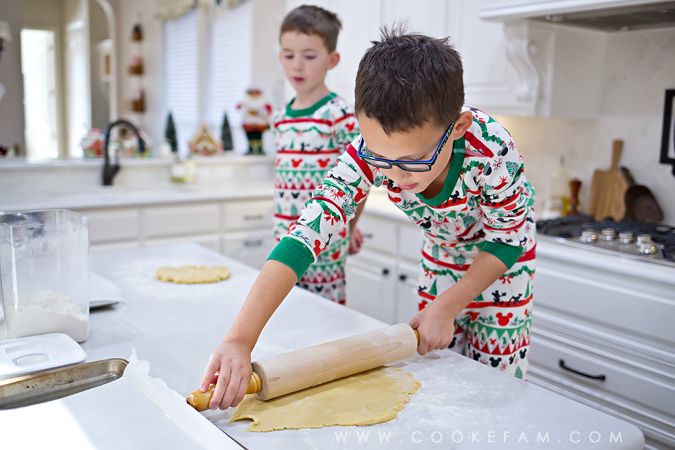
 photo DX0A3284_zpsnt7qujt6.jpg

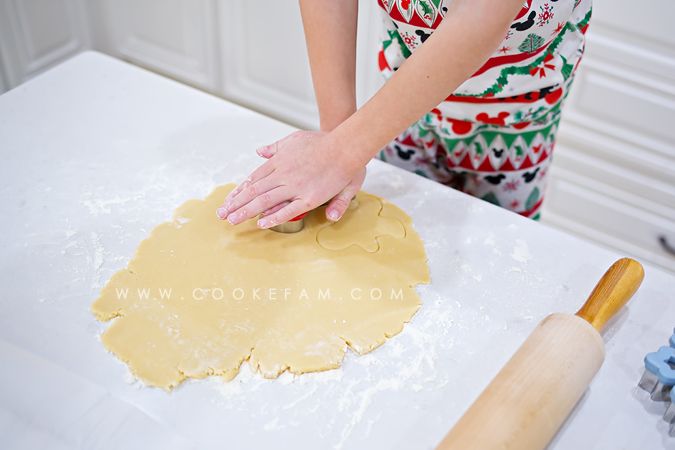
They've got this part down now...rolling out the dough and cutting the cookies. 
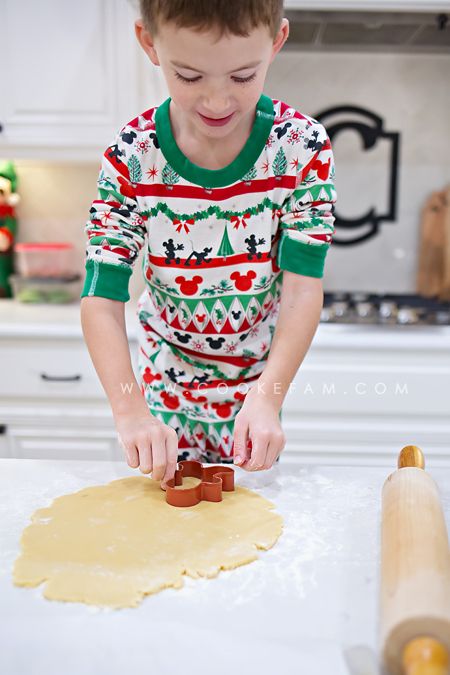
 photo DX0A3291_zpslrjp60sh.jpg

 photo DX0A3294_zpsdtwdv5df.jpg

We added a few new cookie cutters to our stash this year: a mitten, Christmas light, stocking, and present.
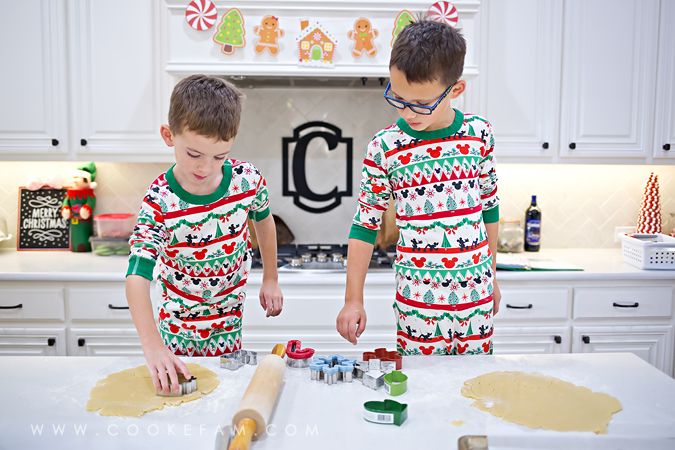
 photo DX0A3296_zpsfbkrwslm.jpg

Ethan wanted to transfer his cookies to the baking sheet all by himself. I only ended up having to help him a little bit.
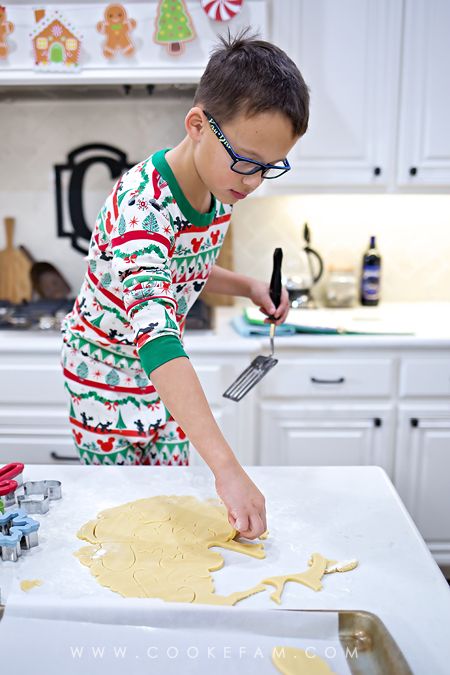
 photo DX0A3304_zps2ev2dd6b.jpg

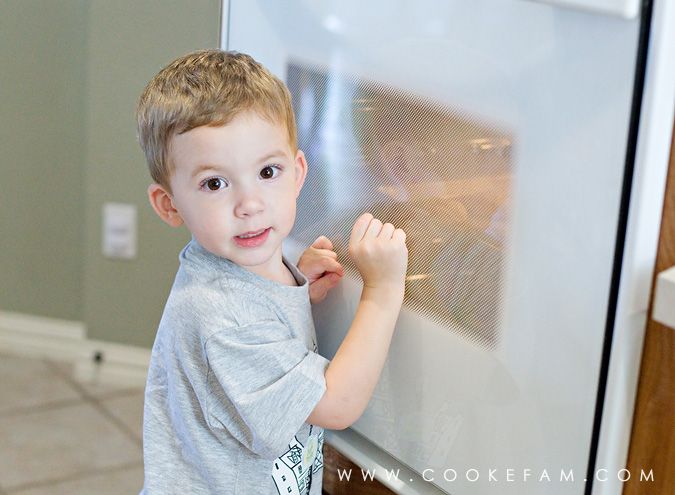
So, after we took a break for the cookies to bake and cool, the boys mellowed out and didn't fight any more - hallelujah. They're checking out their cookies here to see how they baked. 
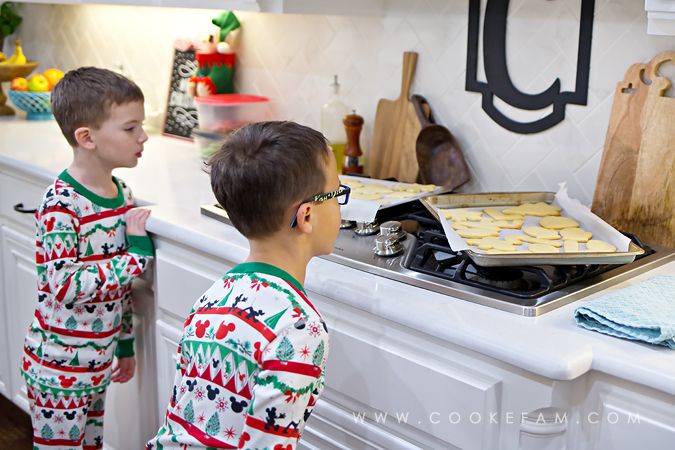
 photo DX0A3315_zps5ykqm0js.jpg

A couple of hours later when the cookies were completely cooled and we were ready to get back in the kitchen, they decorated their cookies. The icing was a little runny at first, but it actually firmed up as we went along. So the first couple of cookies look peculiar (but tasted great!). Ethan wanted to make an "E" cookie, so I used a knife to cut that out. 
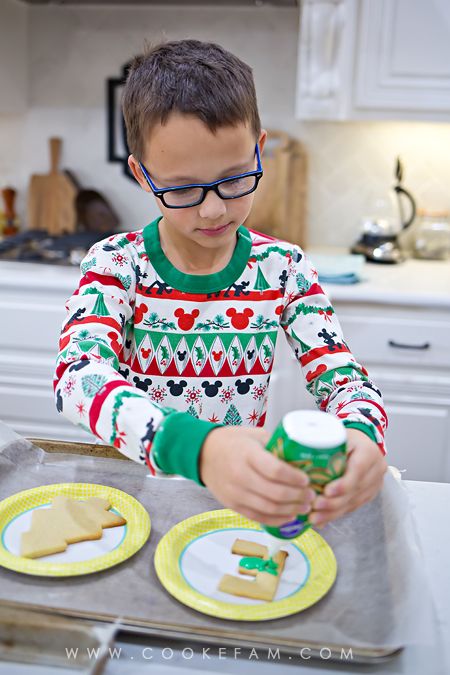
 photo DX0A3322_zpsba7ccgpe.jpg

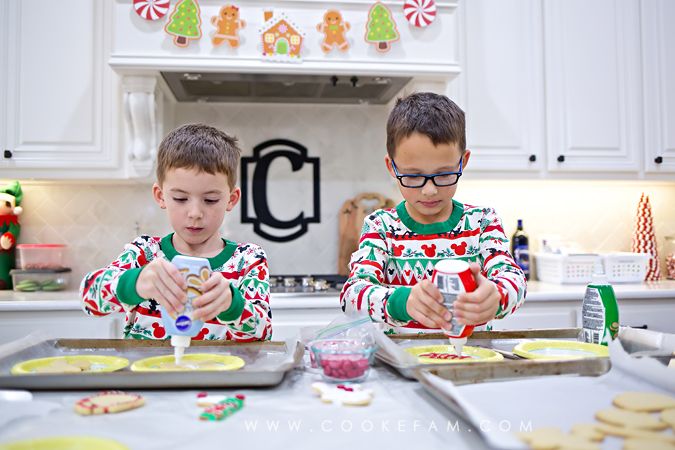
I did an "L" for Logan too. They didn't need too much help with the icing...it came out of the bottles pretty well. 
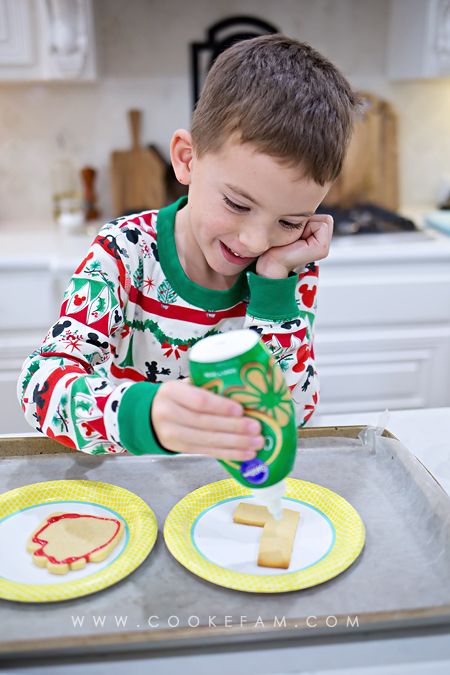
 photo DX0A3327_zpspsiyqsyz.jpg

I spy Duke trying to get anything he possibly can that's dropped...which did happen, of course. 
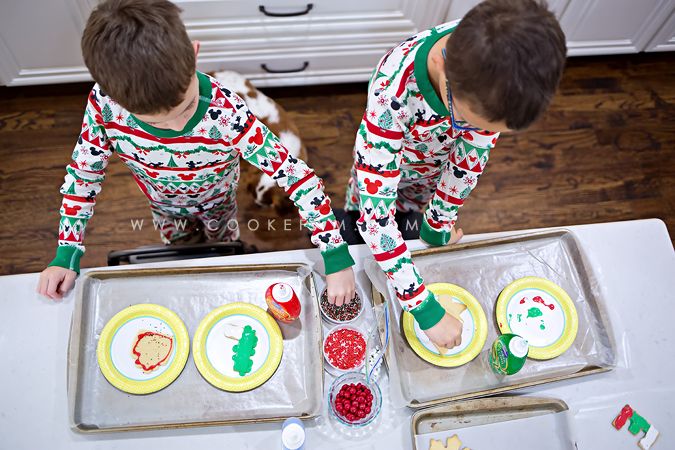
 photo DX0A3342_zpsl5tzhlfo.jpg

Logan kept sneaking tastes of icing. He did the same with the cookie dough. He probably had the equivalent of three cookies with icing before we were all done!
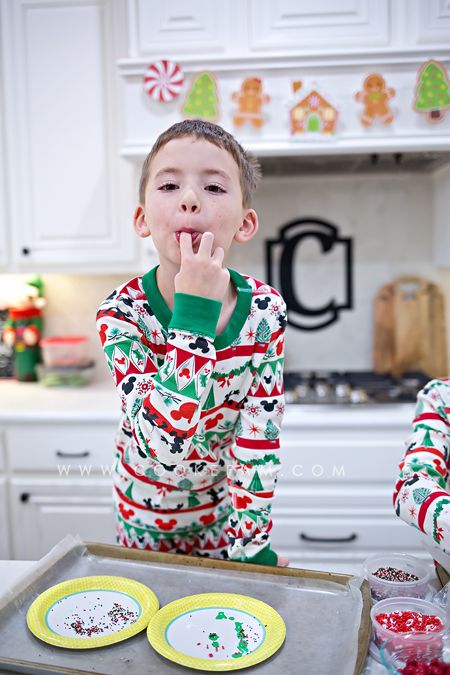
 photo DX0A3361_zpsyvomnkfv.jpg

So serious...

 photo DX0A3378_zpsy5lrcruz.jpg

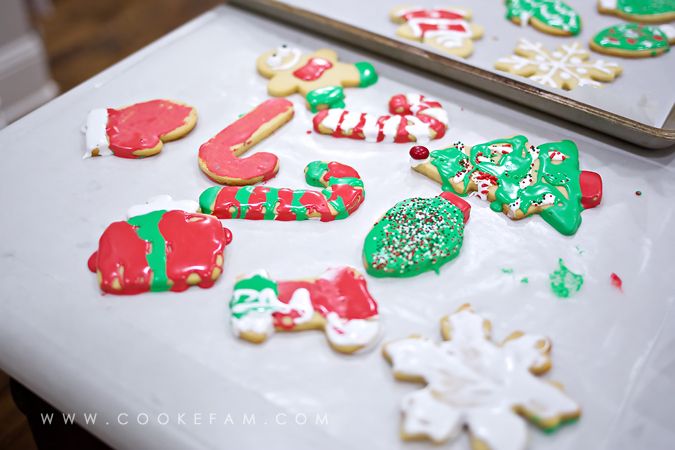
The boys let me decorate a few cookies too. It's fun! This was my tray. I really liked how that snowflake turned out and I also enjoyed doing the Christmas lights. See how our icing was a little runny? We do not worry about such things. It's fine. They tasted wonderful!
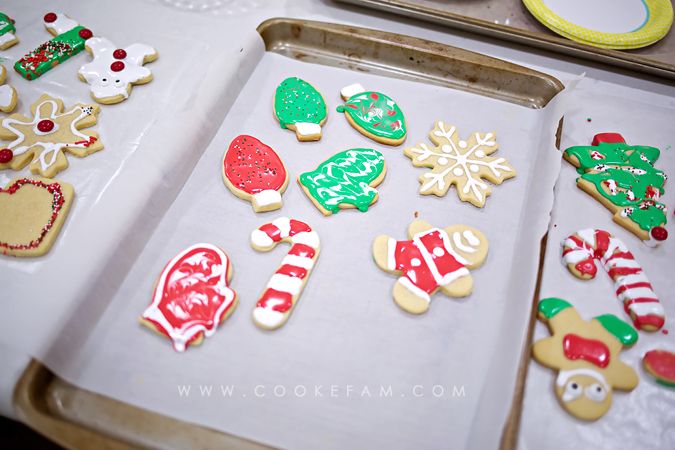
 photo DX0A3393_zpsfvsq5toa.jpg

These are Ethan's cookies...

 photo DX0A3394_zps6sn8sm5v.jpg

And these are Logan's. I know it's only three days until Christmas, but it might not be easy to save two of these for Santa!
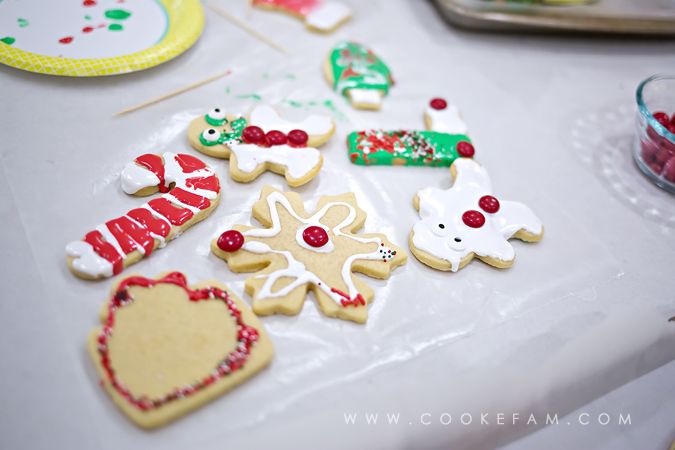
 photo DX0A3395_zpshncn2oyk.jpg

Wednesday, June 19, 2013

Dinosaur Footprint Cookies

When I recently saw some fun dinosaur footprint cookies on Pinterest, I thought it would be an easy baking project for the boys and me to do together.

 photo IMG_6689_zps0d13047e.jpg

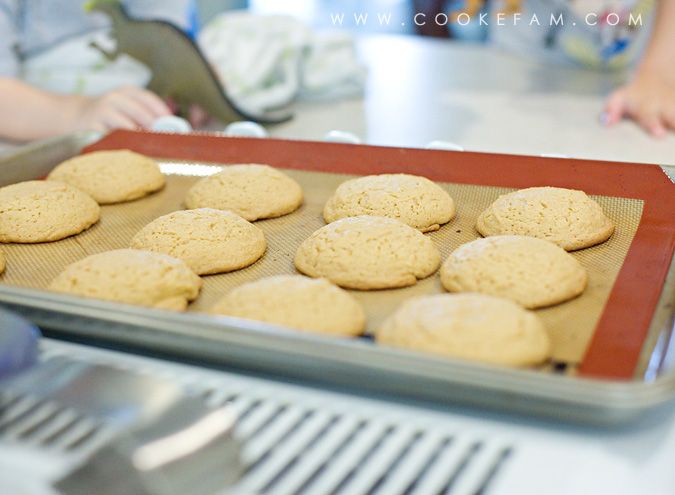
Usually I like to make cookies from scratch because...well, because they just taste better. But we made these cookies two days after Casey and I returned from Paris and I just didn't have the energy to go that route this time. So, we made peanut butter cookies from a mix. So, here are the beautiful cookies fresh out of the oven.

 photo IMG_6690_zps5ee01f7c.jpg

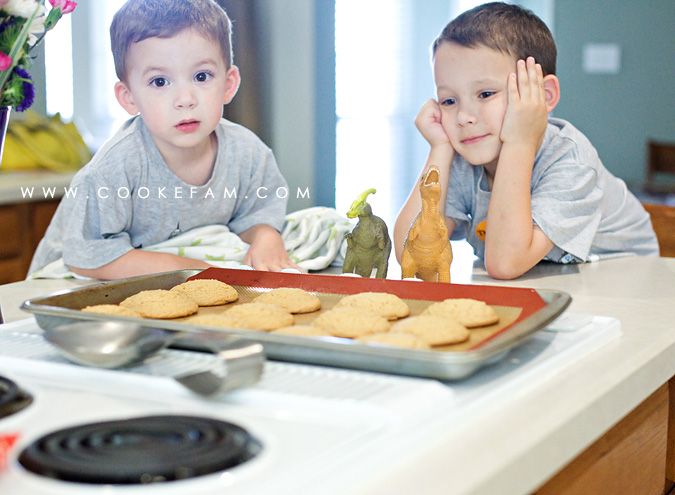
We waited maybe 4-5 minutes just for the cookies to set a little bit before we went to step 2 of the process. That was the longest 4-5 minutes, let me tell you. Those two were ready to make footprints!
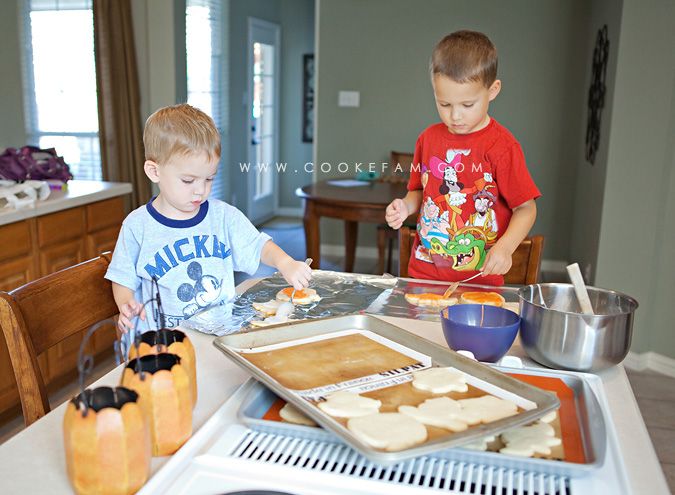
 photo IMG_6695_zpsb009e169.jpg

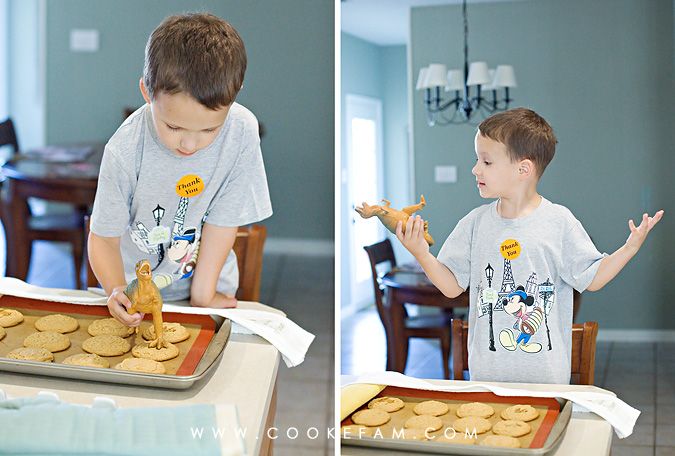
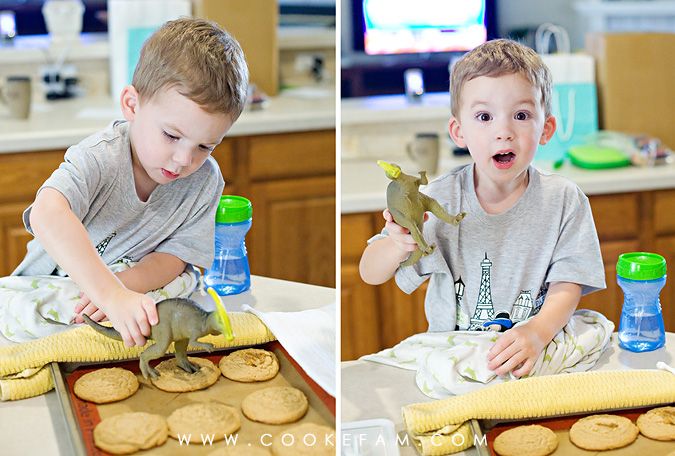
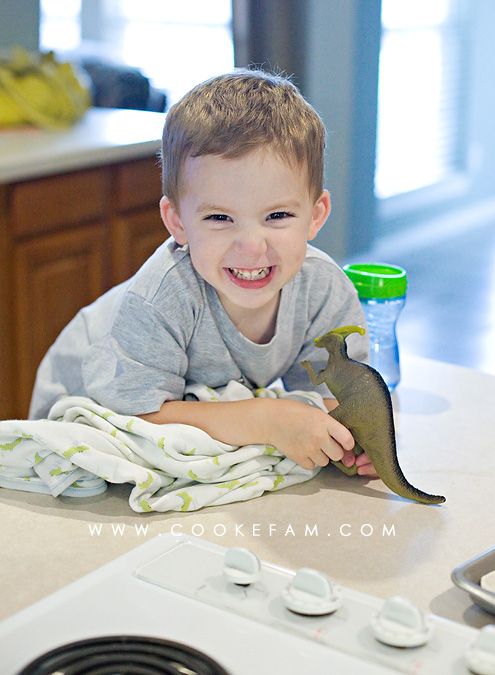
Step 2, of course, was using our toy dinosaur feet to make "footprints" in the freshly baked cookies. They were still soft after a few minutes out of the oven. And you'll notice that I put kitchen towels over the edges of the baking sheet so the boys would be protected. I could have used a spatula to transfer the cookies to another surface before we printed them, but they were still too soft to move.

 photo IMG_6701_zps2fd45eda.jpg

Both boys were so amazed at the results. I think they were a little surprised it actually worked. It's cute how excited they get over little things like this. That's why I love doing things like this.

 photo IMG_6710_zps7a817ce0.jpg

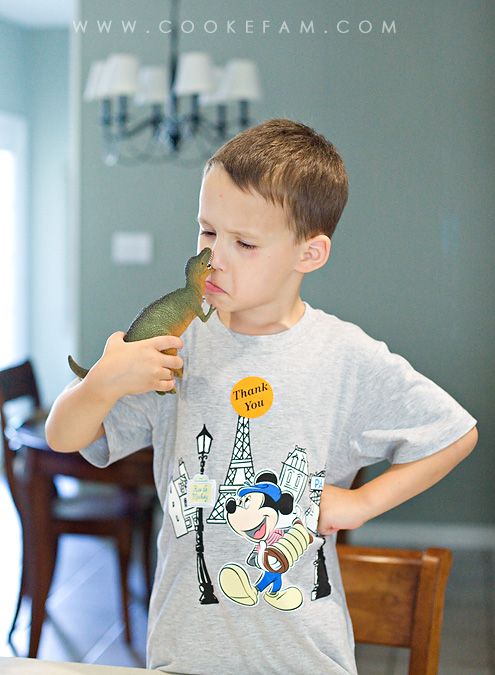
Getting a little silly with the dinosaur (and wearing the "thank you" sticker from the grocery store)...

 photo IMG_6684_zps834fa32a.jpg

 photo IMG_6679_zps497a04c5.jpg

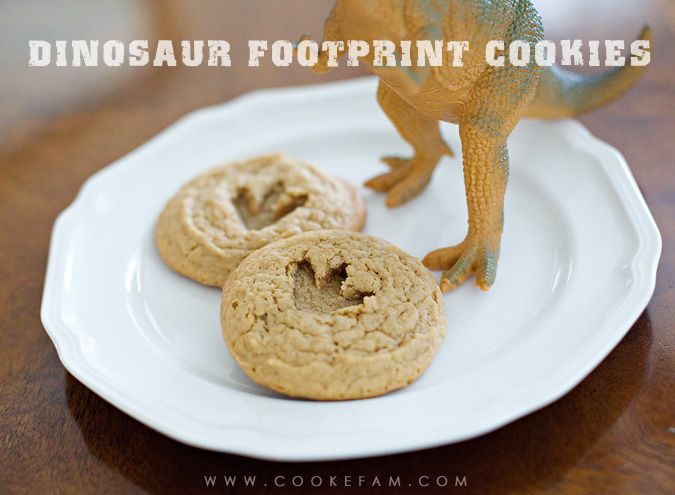
And that is all there is to making dinosaur footprint cookies. Quick and easy, fun and delicious. My kind of project!

 photo IMG_6724_zps6148e2db.jpg

Sunday, February 24, 2013

Recipe Organization

I've been looking for a good way to organize my recipes for a while. Yes, most of them are on Pinterest now, although there are still some favorites from other cookbooks and friends. But when I use a recipe online, I really like to have it in print when I'm making it. I know that I could pull it up on my iPad, but for some reason, I just don't like to have my iPad around in the kitchen when I'm cooking. And I'd also have to turn off the auto-lock feature that keeps shutting the thing off every 2 minutes. I may eat my words and get a stand in the future, but for now, I have a system that works...

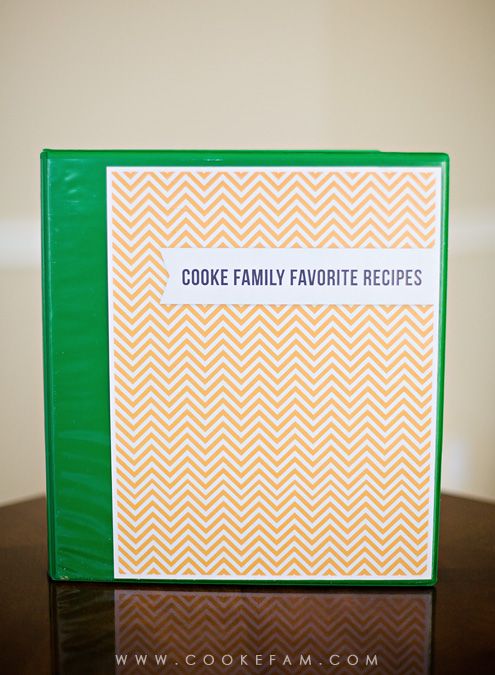
So, about 6 months ago, I pulled out an old binder I'd been saving for such a project and made a very simple cover for it. My rule about this book (so it doesn't become cluttered) is that only our most favorite recipes are allowed inside. Only things I have personally made and only things that my family (and I) love. Very few recipes make the cut!

 photo IMG_7091_zpsecb740a4.jpg

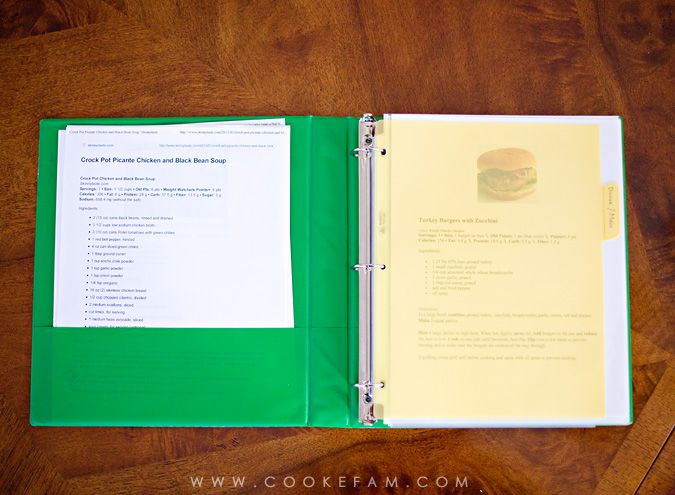
The inside looks like this:

 photo IMG_7092_zpsa37d1cf5.jpg


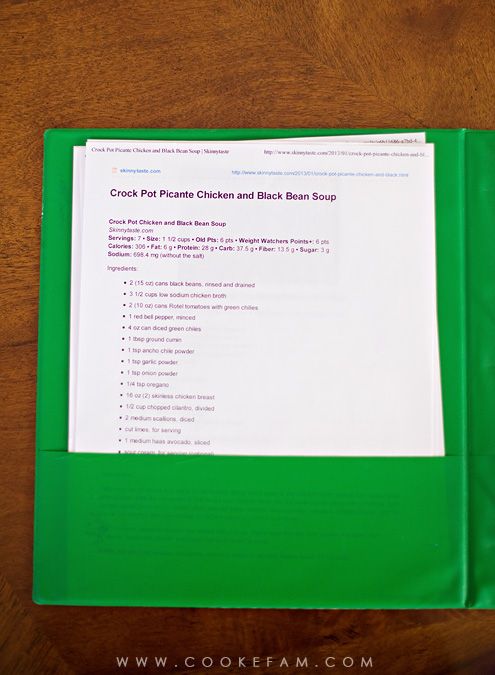
On the left side of the binder, in the front pocket, I put recipes that I've printed off to try for the week (I plan out weekly menus). Sometimes I may not have anything in this part of the binder if I'm making all previous recipes that week. But I try to do something new at least once a week. And I always keep the recipe print-out to one page (you'll see exactly why later). Usually I try to include a photo, but it looks like one didn't make it on this particular print-out.

 photo IMG_7097_zps28f59148.jpg

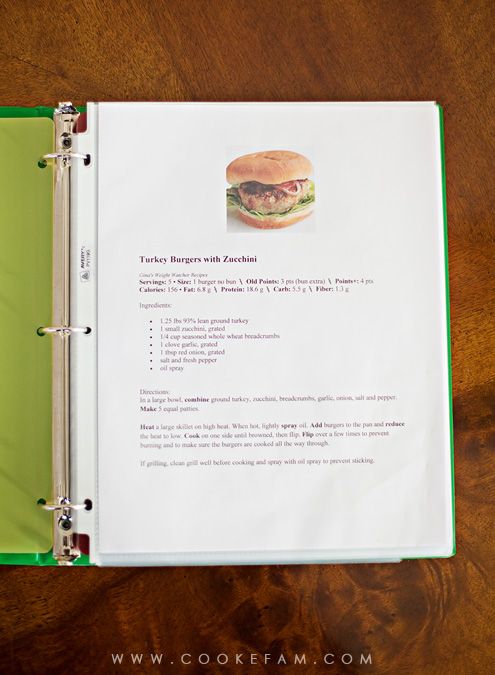
The actual binder rings hold recipes that are "keepers" and are stored in page protectors. That's why I keep it to one page. I put two recipes back to back so that there are two for each page protector. After I've made a recipe and decide that it is worthy of the binder, I put it where it belongs in the binder. There are 7 categories separated by dividers:  Main Dishes, Crockpot Meals, Sides, Breakfast & Bread, Dessert, Appetizers and Dips, and Dessert.

 photo IMG_7100_zps4a695b2c.jpg

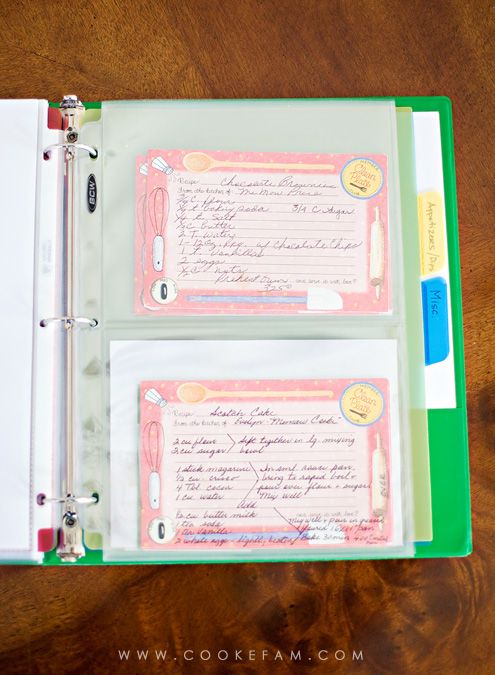
The reason why I like this binder so much is that it stores other favorite recipes too. I used to have a basket that was designed to hold recipe cards like the ones below. I hated how long it took me to look through them and pull one out and I hated that my recipe cards were always getting dirty when I cooked. So, a quick search on Amazon brought up these page protectors that can hold two recipe cards up to a 5x7 size. Perfect. And they keep my cards clean.

 photo IMG_7101_zpsaeaca6e0.jpg

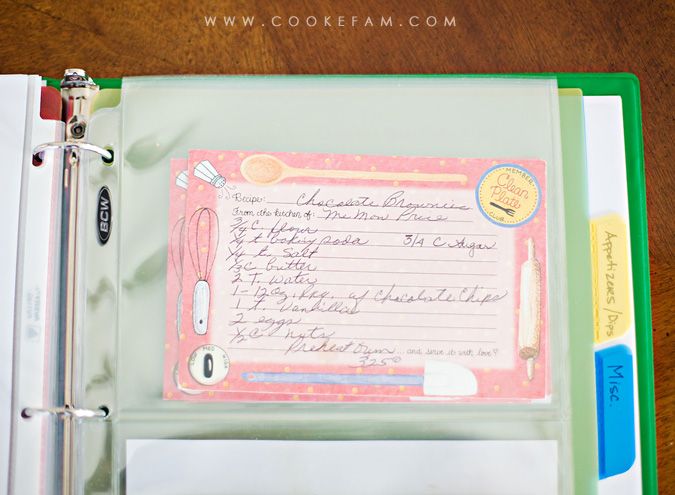
I could just type up these recipes, but honestly, most of them were given to me at a recipe shower a friend held for me right before Casey and I got married (a really neat idea, by the way...I still use many of the recipes and they are favorites). Some of them (like the one below) are in the handwriting of very special people. That one for Chocolate Brownies is from Casey's Memaw Price. Apparently she never really made these brownies when he was a child, but they are his absolute favorite now. And since she is no longer here on earth with us, I treasure this recipe in her handwriting. I want to keep it just like this instead of typing it up.

 photo IMG_7104_zps7bcb4447.jpg

I've been using this binder successfully for about 6 months now, so it's proven to be a system that works for me. And the best part is that now that's it's populated with our favorite recipes from the past 6 months, I have an easy way to pick out some stand-by meals when I'm planning our weekly menus. I flip through this and then pick one or two new recipes from Pinterest. Easy.

Friday, February 15, 2013

My Valentines Day (2013) In iPhone Photos

Some parts of Valentines Day were special...others were rather mundane. Here's a look at what I (we) did on this Valentines Day:

Started the day taking photos with all my valentines...

 photo vday1_zpsdbab3d38.jpg

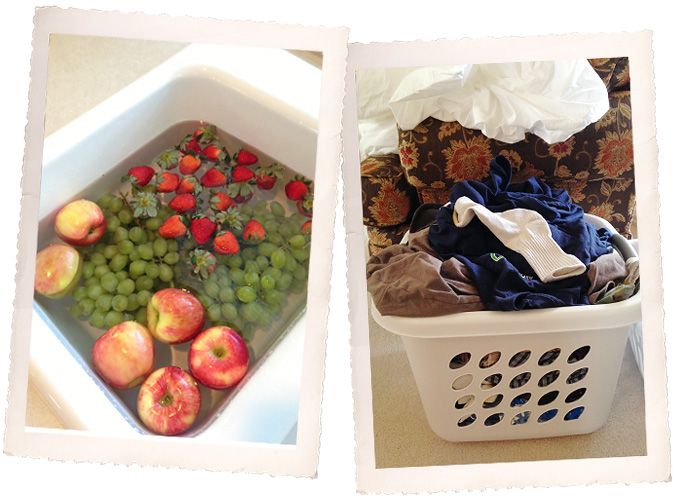
Then, after preschool drop-off...grocery store, unpacking groceries, and laundry. This would be the mundane part of the day. 

 photo vday2_zps35eda5f7.jpg

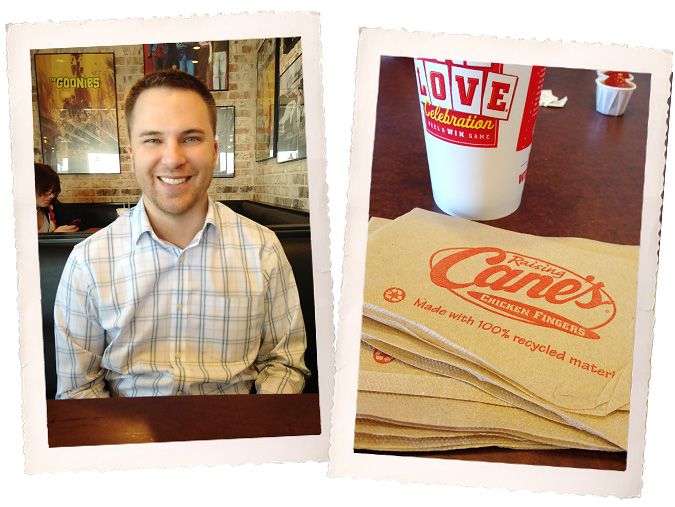
A spontaneous (and very quick) lunch with Casey at Cane's.

 photo vday3_zpse78603b0.jpg

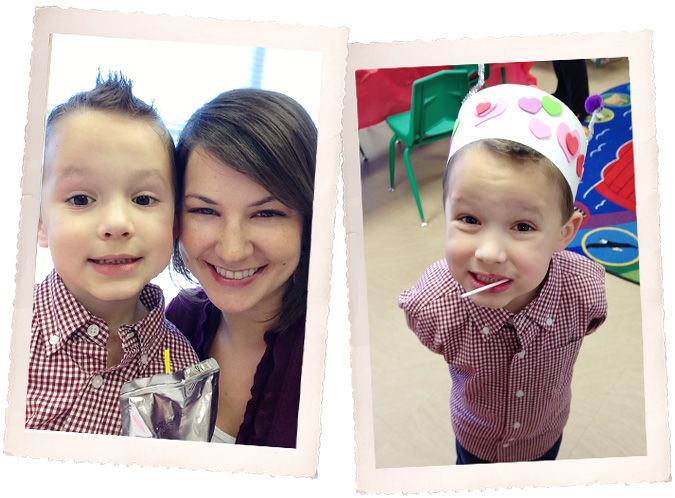
Right after lunch...off to class parties at preschool. Ethan's class made "love bug" hats (you can just barely see the antenna attached to his "hat").

 photo vday4_zps0e817e2e.jpg

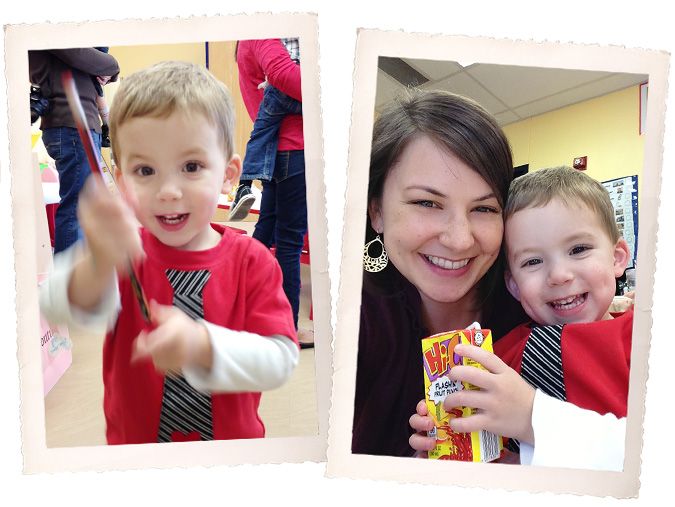
Logan was most proud of the pencil he got in his Valentines treat bag. He's still playing with it today. I love how both of the boys juice boxes are in their photos...the only time they get these is at class parties because I'm a mean mom and we don't drink those (or any juice) in our house.

 photo vday5_zps051c1e58.jpg

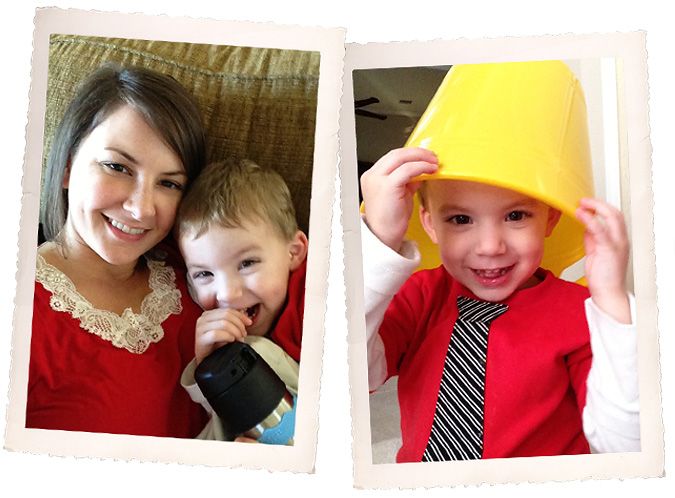
After school, Mimi (who met us at the parties at school), took Ethan home to spend the night just for fun. So, Logan and I headed home to change into PJ's and cuddle on the couch. No nap and feeling a little under the weather makes Logan even more cuddly than normal. Yet still as silly as ever.

 photo vday6_zps8024a4cd.jpg

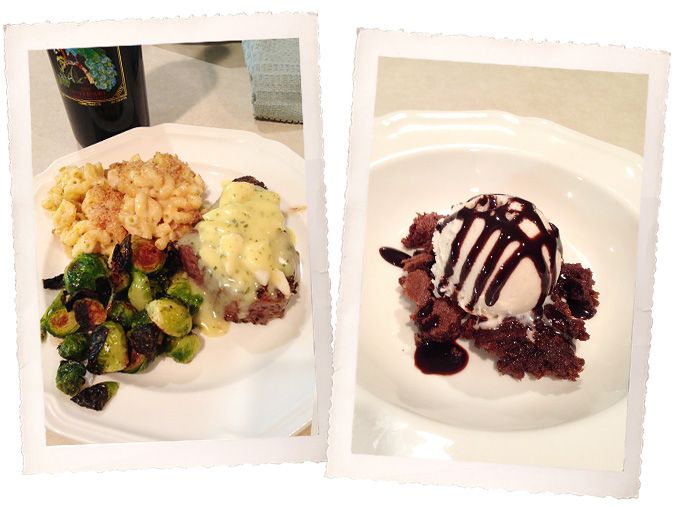
After the little one went to bed, I finished up a special dinner for us...Filet Oscar-style (topped with crab and Bearnaise sauce), lobster mac and cheese (this was yum), and roasted Brussels sprouts with garlic and parm. For dessert, hot fudge pie a la mode.

 photo vday7_zps41c6bcb7.jpg
(PS - ever since I started preparing our steaks the right way several years ago, all has been right with the world. If you're still grilling your filets, you might want to take a stab at this preparation instead.)


Sunday, October 28, 2012

Halloween Cookies: 2012

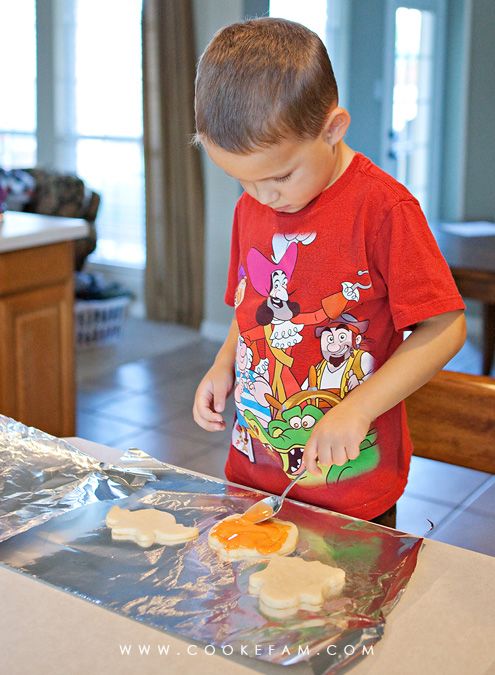
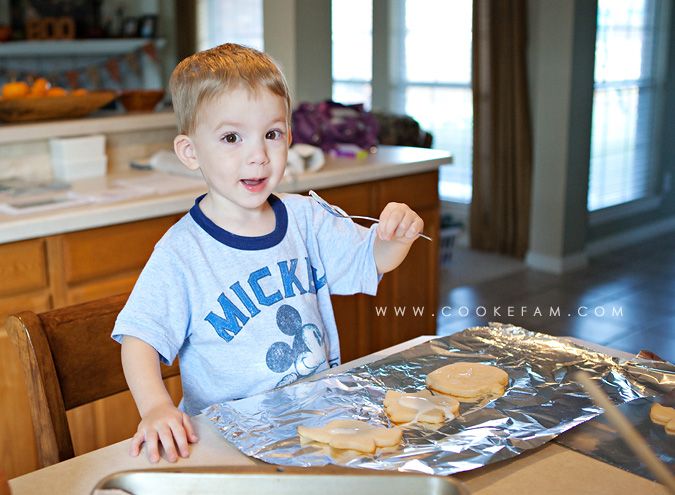
This is the first year we've made Halloween cookies. Really, it was just an excuse to try out a new recipe and utilize (in a different way) some really cool Halloween pancake molds my mom got us last year from Williams Sonoma.

Photobucket

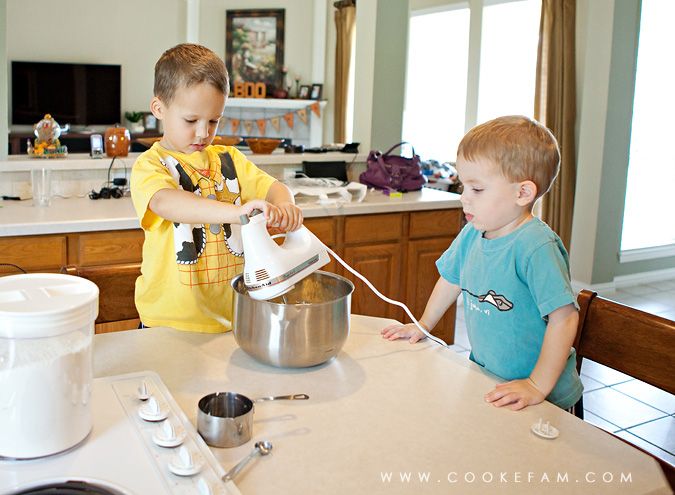
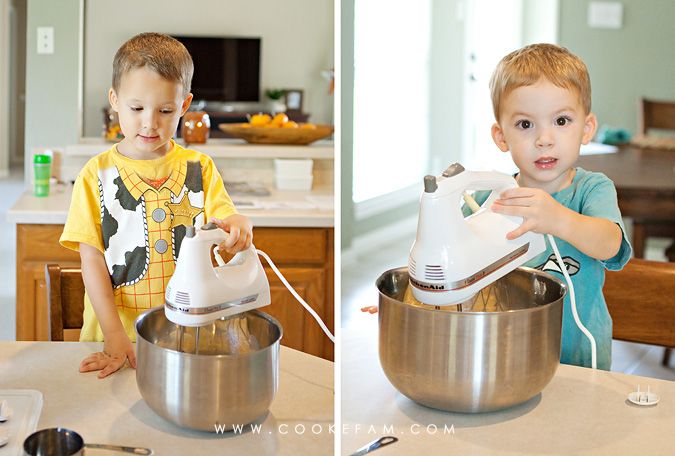
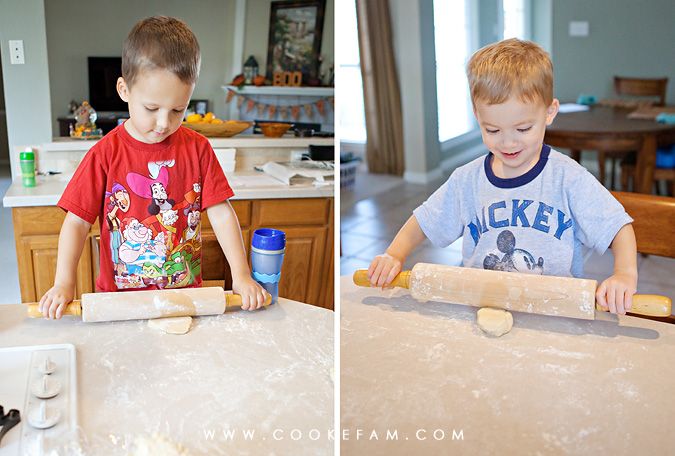
I try to let the boys get involved in each step of the cookie-making process. Including using the mixer...on the lowest setting and after I have already combined the ingredients a bit. If you know me, you know I would not do well with flour flying everywhere in my kitchen. But, they really love using the mixer.

Photobucket

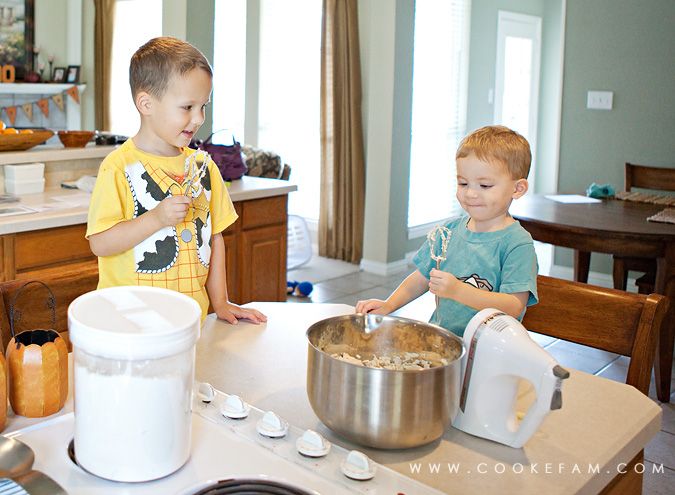
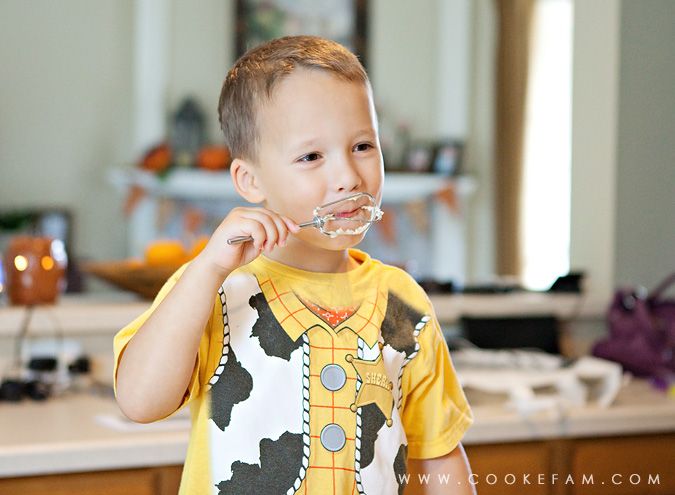
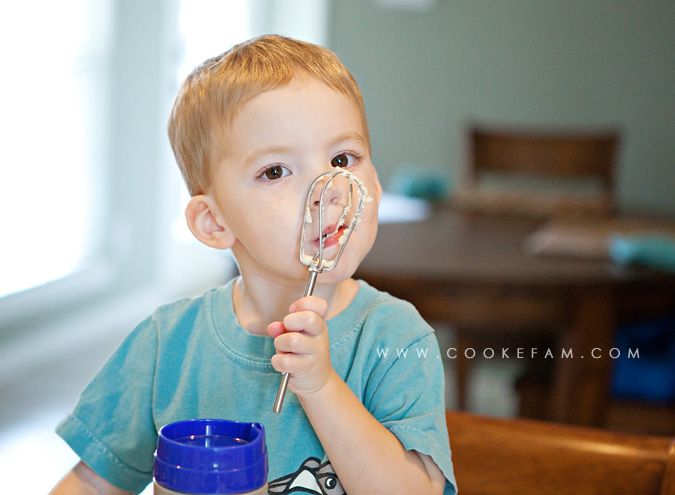
Then, they lick the beaters. I would say that this is probably their favorite part.

Photobucket

Photobucket

Photobucket

Then we took a break for a few hours for the dough to chill in the refrigerator and for the boys to take their naps. (And apparently change clothes...can't remember why that happened, but I do know that this was definitely the same day.)

Photobucket

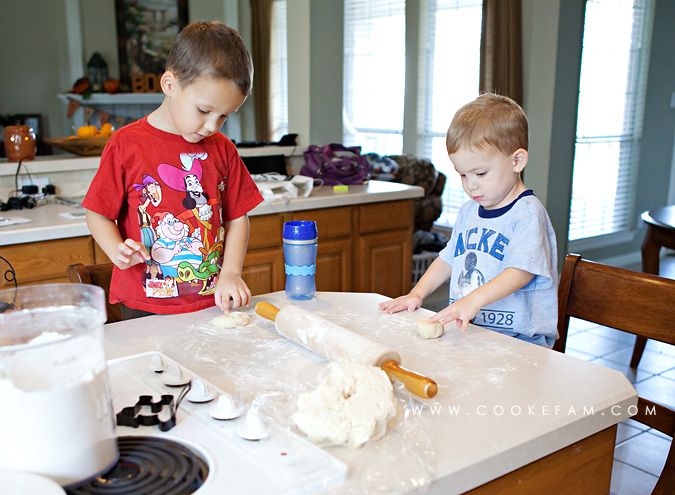
I gave them each a small part of the dough to pat down....

Photobucket

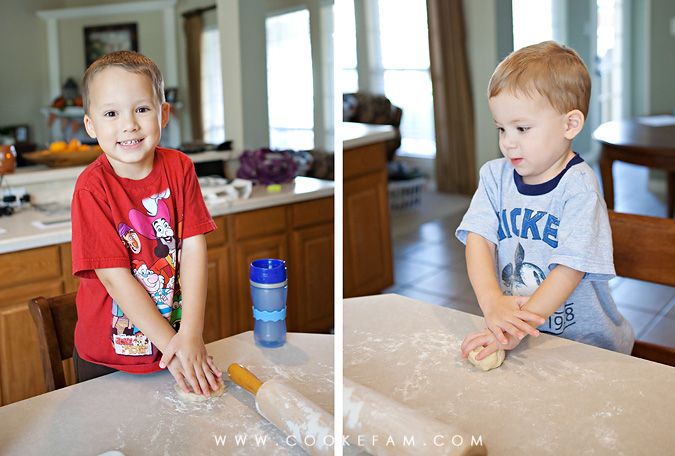
...and then roll out. They love this part too. It's just fun to play with dough.

Photobucket

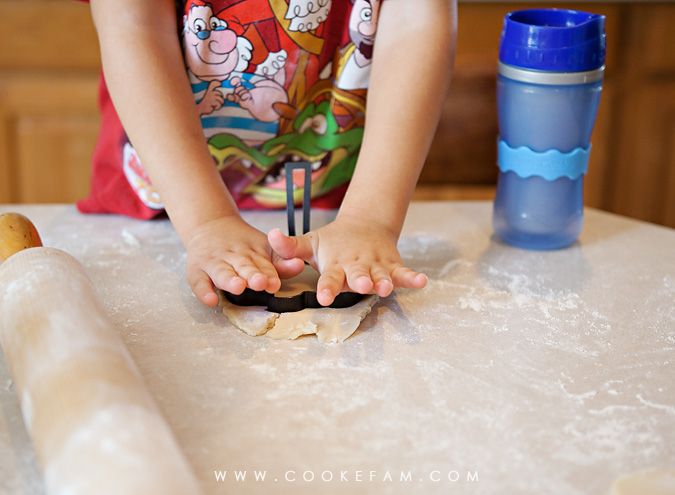
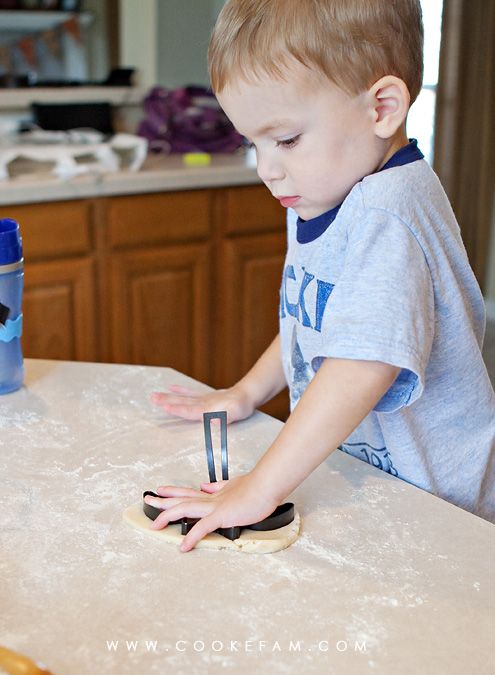
Then we used our pancake molds in a very non-traditional way and cut out our cookies. (Side note: I love taking up-close action shots of what they are doing because it adds a little detail to the photo story and also because it will help me remember how sweet the dimples are on their little hands.)

Photobucket

Photobucket

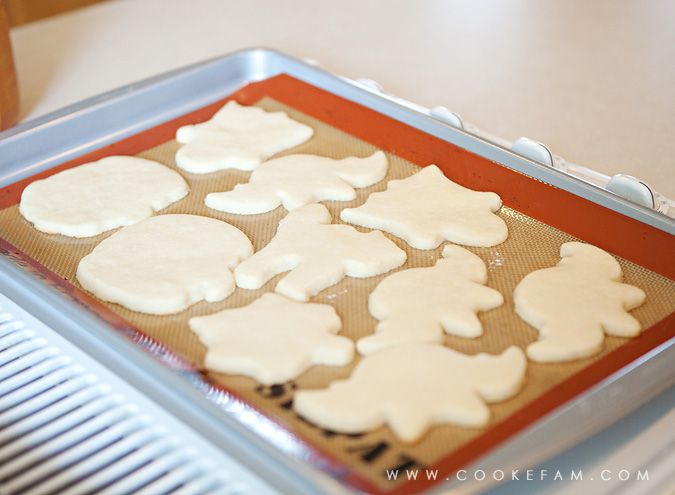
We cut out leaves, bats, ghosts, and pumpkins.

Photobucket

We followed the recipe for the glaze too, so we just spooned it onto the cookies.

Photobucket

I gave each of the boys three cookies to decorate (that would be theirs to eat) because it's inevitable that the decorating spoon will get licked.

Photobucket

Glazing cookies is very serious business. Look at that concentration. I forgot to take a photo of the finished product. The glaze was yummy, but not as pretty as royal icing on cookies (which is also yummy, in my opinion). The cookies themselves had a really great taste and I could tell where the cream cheese added to the flavor and texture of the cookies. However, I think this dough is a little harder (stickier) to manage than our normal sugar cookie recipe, which I think we will use next time.

Photobucket