Showing posts with label Organization. Show all posts

Thursday, April 27, 2017

Bullet Journaling

This post is not about how or why I Bullet Journal...because I don't actually bullet journal at all. (Can I use that as a verb? I don't know, but I'm leaving it.) BUT, I feel like it's something I would be very much into if I started. Let's just look at the things a Bullet Journal does:

  • Organize 
  • Keep Records
  • Make Lists
  • Be Creative about all of those things

^ ^ ^ That is literally a checklist of all my favorite things. So why don't I bullet journal? (Yet.)

My problem with bullet journaling is NOT that it's everywhere. It feels like everyone is doing it. That sometimes deters people from trying things because they don't want to go along with the flow of popular culture. That is not me. I am not worried about doing something that everyone else is doing...IF I like it. 

My problem is that I feel like if I get started with it...it will be my new time suck. Sure, there would (could) be a payoff that's much greater than wasting time on Facebook, but it will still suck time out of my day. Where is that time going to come from?  Also, I will be perfectionist about every page. I know you can make it as simple or as complex (and creative/colorful) as you want. But perfectionists and those who love a good design on a page find that difficult. 

I also feel like I just got on board with digitizing everything in my life. Once upon a time, I swore up and down that I'd never stop using my little black book (my planner). And I did. I keep every list, note, record, calendar item, etc. on my phone. And it syncs perfectly with my home computer, so I am a happy, organized person. And now everyone is going back to paper? What is happening?

This post could also end up being like my wariness of the Kindle before I embraced that completely. I recently whittled down my collection of real books to only the ones that I love, love, love so much that I could never part with them. It's not that I don't love and appreciate physical books anymore, but I just love the convenience and efficiency of reading (almost) exclusively on my Kindle. Apparently, I did sort of see that coming.

So, I may end up bullet journaling in 2017. Or starting in 2018. Who knows? Because just look at all this loveliness I rounded up on Pinterest:


 photo Bullet Journal Pinterest Board_zpsjzpfmgno.jpg

Friday, March 01, 2013

Pantry Facelift

At the beginning of this year I launched into full-on organizing mode. I don't know that I do spring cleaning as much as January cleaning. I have an urge after Christmas to take stock of what shape our closets and storage spaces are in. One of the projects I've been itching to do for a while is our pantry. It was not in bad shape, really. But considering I am in there about 50 times a day, I just wanted a little more organization and functionality. Plus, I knew it was time to clean out some things too.

It is so hard to show a small space in photos, so there are about a million of them from every angle. However, one of the things this pantry has going for it is space. It's not tiny and it's one of the things that sold me on this house.

 photo IMG_5278_zps25e0b656.jpg

 photo IMG_5273_zps34e76c7e.jpg

Again, not bad, but I'd get frustrated about a few things and knew it could be better. One of those things were the wire shelves. I really prefer not to have them, if possible. It was just the top row of shelving on either side of the pantry because they were add-ons to the original shelving, so I knew that replacing it with wood would be a fairly easy and inexpensive thing to do

 photo IMG_5272_zps01ea9905.jpg

 photo IMG_5275_zpsa26f84bf.jpg

This corner was just a huge waste of space.And more wire shelving.

 photo IMG_5276_zpse7ffd4ed.jpg

 photo IMG_5277_zps3415d58e.jpg

I had three things I wanted done to the pantry:  1) paint the walls (because everything is coming out anyway and there were old nail and screw holes...why not?).   2) replace wire shelving with wood.  3) fix organizational issues on shelves with more containers, tools, etc. 

The process started by turning my dining room and kitchen surfaces into dumping grounds for all pantry items. Seriously, when it was all spread out like that, I could not believe how much stuff fit in there.

 photo IMG_5317_zpsa828cde6.jpg

We were without our pantry for about a week, so it was a bit comical when I'd try to cook...I had to clear counter space, find my ingredients (no small task), and then kick myself every time I walked into the empty pantry out of habit (which was a lot). It was an interesting week.

 photo IMG_5308_zpsa901e10c.jpg

I'm skipping the "during" photos because there's already a million photos in this post. But, the walls were painted (a soft, bluish-grey), the wood shelves were added and painted, and everything was loaded back in. As I was deciding what would go back in and where, I took the opportunity to get rid of (throw away/donate) several things that had either expired or I just never used.

 photo IMG_7060_zps31d7b421.jpg

Putting the pantry back together took me a good 2 days (on and off, of course) and it was probably the most fun I've had this year so far. I had the best time planning the space and putting everything in it's place. Some things got new containers, some got moved around. But I had the advantage of 3.5 years using this space to know how I wanted things.

 photo IMG_7058_zps7f76421d.jpg

New wine storage was on my list and that was accomplished. The lazy Susans in the corners of the shelves really maximize the space and allow me to see things easily. ALL my spices got moved into here. I used to keep my "most used" spices in one of the kitchen cabinets, but I found it easier to have them all in one place so I'm not having to think about where a particular spice is. And I alphabetized them.

 photo IMG_7057_zps0a3cca5e.jpg

My cookbooks were trimmed down to the essentials and baking supplies got their own containers. Recycle bins and laundry bin were relocated to below the bottom shelf because the corner in which they use to reside got the biggest makeover, in my opinion.

 photo IMG_7052_zps850a2200.jpg

This corner now has a kitchen card (from Ikea) and the new wooden storage shelf (for holiday stuff that can't go in the attic). I love having some of my most used appliances on the cart so I can grab them quickly and easily.

 photo IMG_7053_zps825d77c1.jpg

Oh, one of my favorite things I added are the fruit and veggie bins. I didn't have anywhere to put them before and I love having them so visible and accessible now. I think I should note that I take most things out of their packaging before putting them in the pantry (or fridge, for that matter). I hate packaging....it takes up so much room and then you have to unwrap things when you need them. I prefer to take a few more minutes after going to the grocery store and tackle it all at once.

(PS - I have to store my laundry baskets in my pantry because it got all the square footage and there's absolutely no room for them in my laundry room!)
 photo IMG_7050_zps9d7c3f7a.jpg

Sunday, February 24, 2013

Recipe Organization

I've been looking for a good way to organize my recipes for a while. Yes, most of them are on Pinterest now, although there are still some favorites from other cookbooks and friends. But when I use a recipe online, I really like to have it in print when I'm making it. I know that I could pull it up on my iPad, but for some reason, I just don't like to have my iPad around in the kitchen when I'm cooking. And I'd also have to turn off the auto-lock feature that keeps shutting the thing off every 2 minutes. I may eat my words and get a stand in the future, but for now, I have a system that works...

So, about 6 months ago, I pulled out an old binder I'd been saving for such a project and made a very simple cover for it. My rule about this book (so it doesn't become cluttered) is that only our most favorite recipes are allowed inside. Only things I have personally made and only things that my family (and I) love. Very few recipes make the cut!

 photo IMG_7091_zpsecb740a4.jpg

The inside looks like this:

 photo IMG_7092_zpsa37d1cf5.jpg


On the left side of the binder, in the front pocket, I put recipes that I've printed off to try for the week (I plan out weekly menus). Sometimes I may not have anything in this part of the binder if I'm making all previous recipes that week. But I try to do something new at least once a week. And I always keep the recipe print-out to one page (you'll see exactly why later). Usually I try to include a photo, but it looks like one didn't make it on this particular print-out.

 photo IMG_7097_zps28f59148.jpg

The actual binder rings hold recipes that are "keepers" and are stored in page protectors. That's why I keep it to one page. I put two recipes back to back so that there are two for each page protector. After I've made a recipe and decide that it is worthy of the binder, I put it where it belongs in the binder. There are 7 categories separated by dividers:  Main Dishes, Crockpot Meals, Sides, Breakfast & Bread, Dessert, Appetizers and Dips, and Dessert.

 photo IMG_7100_zps4a695b2c.jpg

The reason why I like this binder so much is that it stores other favorite recipes too. I used to have a basket that was designed to hold recipe cards like the ones below. I hated how long it took me to look through them and pull one out and I hated that my recipe cards were always getting dirty when I cooked. So, a quick search on Amazon brought up these page protectors that can hold two recipe cards up to a 5x7 size. Perfect. And they keep my cards clean.

 photo IMG_7101_zpsaeaca6e0.jpg

I could just type up these recipes, but honestly, most of them were given to me at a recipe shower a friend held for me right before Casey and I got married (a really neat idea, by the way...I still use many of the recipes and they are favorites). Some of them (like the one below) are in the handwriting of very special people. That one for Chocolate Brownies is from Casey's Memaw Price. Apparently she never really made these brownies when he was a child, but they are his absolute favorite now. And since she is no longer here on earth with us, I treasure this recipe in her handwriting. I want to keep it just like this instead of typing it up.

 photo IMG_7104_zps7bcb4447.jpg

I've been using this binder successfully for about 6 months now, so it's proven to be a system that works for me. And the best part is that now that's it's populated with our favorite recipes from the past 6 months, I have an easy way to pick out some stand-by meals when I'm planning our weekly menus. I flip through this and then pick one or two new recipes from Pinterest. Easy.

Saturday, February 02, 2013

Desk: Organized

One of my favorite things I did for my new office was organize my desk area. In my case, the organization started by thinking about what I wanted to store in the desk and then coming up with a plan so that there was a space for everything. I literally sketched out what I wanted complete with measurements and the carpenter built it. Here's my first sketch (things changed a lot from this first draft):

Photobucket

Here's how the desk turned out. I was thrilled with it and could not wait to put all that storage to good use.

Photobucket

First of all, the drawers are super deep. And I lined them with teal wrapping paper (from The Container Store). Then I used clear bins to sort items (also from The Container Store). I actually wanted to use a patterned paper at the bottom of the drawers just for fun, but I never came across anything I really loved. But in the end, I am so glad I went with a solid because there's enough "pattern" going on with all my stuff in there!

I know it's weird, but this photo is like art to me. It makes me so happy. The combination of office supplies (which I love) and the "everything-in-its-place" organization is just my cup of tea.

Photobucket

Another drawer. Love this one too. It has my stationery, my label maker, electric stapler, and paper cutter. I have had that paper cutter since high school. I cannot part with it. And I use it all the time. I love having it in this drawer instead of crammed in the closet where there were about 5 things on top of it that I had to move each time I needed it.

Photobucket

And some pops of purple, of course. I didn't feature that color in the room, but it's fun having a little bit of it in the drawers. I personalized that letter opener there by popping out the previous business card behind the plastic and making/printing my own using Photoshop. Took about 3 minutes and it's much more fun now.

Photobucket

One thing I knew I had to organize in my new desk were cords. Cords that previously didn't have a home. Cords that I'd have to search for each time I needed them...I hate that. This is so much better. They're right at my fingertips and not tangled.

Photobucket

Not pictured is my file drawer. It's the very bottom drawer on the left side of my chair space and it holds files for things like school info, insurance info, a tax file (so everything is in one place when I go to file our taxes), and others.

And then there's the upper storage cabinets. We actually have no book shelves in our entire house. Zero. Well, the boys have shelves in their rooms, but those don't count. We have no built-ins in the downstairs office, living room, or our bedroom. Casey's desk downstairs holds some books and I still have about 20 or so of mine down there. But, I am keeping fewer books these days...only the ones that I really, really love. But even then, I still have a small collection that needs a home. This is just one side of the cabinets...the other side has the top two shelves full of books and the bottom shelf for some magazines and my household notebook.

Photobucket

There are open spaces in my drawers and cabinets right now and my goal is to keep it that way. I really enjoyed the process of figuring out where each thing should go according to how and when I use it. And I enjoy the fruits of that process every day when I work at my desk. Organization is awesome!

PS - So far the boys have totally left my drawers alone. It's as if they sense that I would not like them poking around in there and messing them up. They may decide to try that some day, but so far so good!

Thursday, August 02, 2012

Closet Transformation

There have been some things going on in my office that I haven't shared yet. There has also been some massive organizing efforts as I have moved all my office "stuff" into my new space. One of the bigger organizing projects I have recently completed in this room is the closet space. 

This closet holds a lot of miscellaneous things: art/craft supplies, gift wrap supplies, sewing machine and supplies, computer software, camera accessories, books, photo albums, etc. We used to keep all of this in our office closet in our old house, but since we're using our (downstairs) formal living room as an office, it didn't have a closet for any of this stuff. 

Here's what the closet looked like before I changed things around a bit:

Photobucket

Yikes. Somewhat organized (or it started out that way), but generally a mess. I had added some makeshift shelving with some stacked shelving units, but they were not maximizing the space. And on top of that, with my new desk built-in, I knew I would want to totally reorganize this stuff and possibly move some of it over there.  So I decided to start from scratch and really make this closet work for me. It was intended to be a clothes closet and obviously, we are not storing clothes in there.

First things first...clear everything out. Here's what the closet looks like almost empty. It's a spacious closet, but the lack of shelving was limiting it's true potential.

Photobucket

And here's what my office looked like after I cleared out the closet (below). Is it just me or does it seem like so much more stuff when it's spread throughout the room vs. in the closet? One of my goals was to use this opportunity to get rid of some of it. (But not the little boys!) Oh, and I guess you get a sneak peek of the drapes again, my office chair, and my new round white table.

Photobucket

Next, I added wood shelving to the closet. You can see those pieces of wood in the middle of the floor in the above photo...that's what became my shelves. I added four shelves to the left side of the closet and two long shelves on the right. And here would be the perfect spot to show the empty closet with the shelves added...except I didn't take a photo at this point. I was too excited about loading the stuff back in and organizing it all. 

But, before moving on I'd like to say that there's no special method to adding these wood shelves. I simply looked at the existing ones, saw how they were constructed/supported, and copied them. I did the whole thing from start to finish by myself so this is a project that anyone can do if you know how to use a tape measure and drill. After determining the methods I was going to use, I took some measurements and went to Lowe's to pick out the wood and have them cut it all for me. The supports are pre-primed wood while the shelves themselves are laminated wood intended for shelving. I picked both of those specifically to reduce the amount of painting I would have to do. I did have to paint some and let it dry before I moved everything back in. 

And now, finally, the finished product. Shelves added, hanging bars removed, everything reorganized and pared down. 

Photobucket


By adding these shelves , getting rid of some things, and moving some things to my new desk area storage, I was actually able to move all of my "prop" blankets, baskets, backdrops, etc. that you see on the left. That allowed me to reclaim my hallway linen closet (where those were previously stored) for actual household linens.

Photobucket

When I started actually spending time on getting my office in order and redone, one of the most exciting things to me was this closet. I have planned to put shelves in since we moved to this house 3 years ago. I am so happy with how it turned out, how much more storage it provides now, and the fact that it's done! Just a few more things here and there and my whole office will be done!

Thursday, March 22, 2012

Household Notebook Update

Back when I made my first Household Notebook, I had one child, no iPhone, and there was no such thing as Pinterest. So, I thought it might be time for an update as to how I use my household notebook these days. Because I definitely use it differently than I did back then. 

First of all, it has a new cover (I've had this new one for about a year now). The cover (without our last name on it) is available for download in the free printables section if you want to use it. 

Photobucket

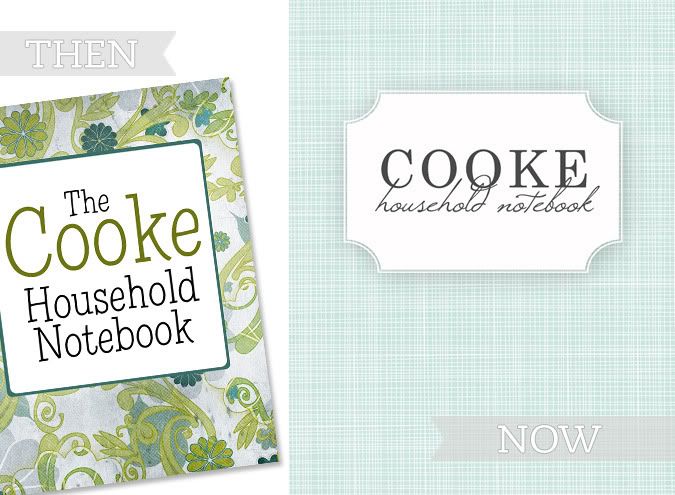
These days, my household notebook is not something that I refer to daily. (More on that below). But, it is still something I really value as an organizational tool and time-saver for me. My notebook really serves as a place to corral ideas/thoughts/lists and to be a portable filing system for my most-used household documents.

You can take a look at that first post for a list of the tabs in my original notebook. But these are the tabs that have been removed because I never used them:

The Blog: if I have a post idea, I just create a draft version (even if it's just the title) and it reminds me later what I had in mind.

Ethan/Logan: For the boys, I have a file for each of them in my file drawer that contains all sorts of stuff pertaining to their growth records, preschool registration, etc. It's more stuff than I wanted to keep in the binder and none of it do I refer to frequently. I no longer print out a schedule for the boys. It's second nature to me and even our parents (the most frequent babysitters) have their schedules down.

Cleaning and Household Tasks:  I think most people find it really helpful to have this tab in their household notebook. But for me, it just took up space. Right after Ethan was born and I started staying home full time, I figured out what the best days were for me to tackle certain household tasks. I have pretty much stuck to that schedule (give or take a little tweaking) since then and again, it's second nature to me now. I know that I do clothing laundry on Wednesdays, sheets and bedding on Thursdays, etc.  I still have a copy of this master schedule on my computer, but I really didn't need a printed copy in my binder or a whole tab taken up by this topic since I never looked at it.

Craft Ideas: Well, I hardly take the time to craft anymore. I have had to pare down my hobbies since having children, so I generally stick to photography and reading. I have little time for anything else and those are the most important ones to me. And also, Pinterest happened. Any little projects or crafts I see that I want to reference later are pinned to one of my boards.

Library Books:  I just never got into a rhythm of using this tab at all. We do not go to the library as regularly as I would like, although with Logan getting older (and not napping 50 times a day), I might add this to our weekly schedule...especially this summer. But even so, I think I will use a different system for keeping track of our books and when they are due. When we have gotten books from the library, I just designated a place for them and made sure they were always returned to that spot after we read them. Then, I made a calendar entry on my iPhone for the day they were due with a little notation on how many books we checked out that time so I can make sure they all made it back.

Here are the tabs I use now:

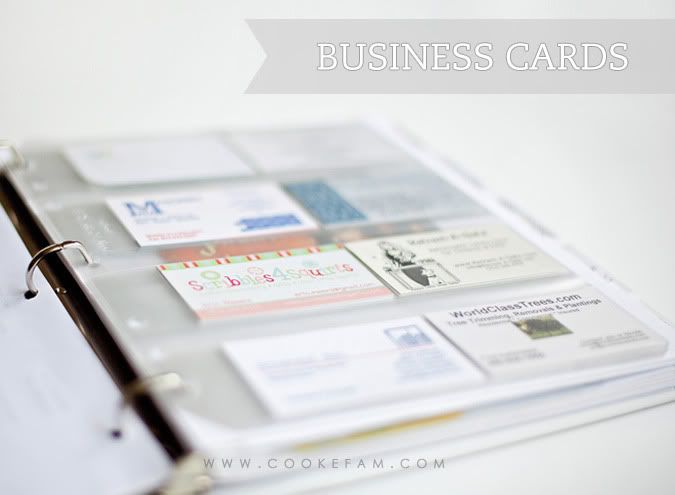
1. Contacts:  I still have a page at the front of this section that has all of our important contact numbers and information. The contacts on this page are: doctors, pharmacy, and poison control.

I've added two new things to this section.  1) A two-page list of household contacts that I've kept over the years. These include: painter, electrician, realtor, and various other contractors. 2) A business card organizer to keep contact info handy for contractors, repairmen, etc, that I might want to call in the future. Some of these are: tree trimming, carpet cleaner, custom embroidery for kids stuff, landscaping, paint and body shop, insurance agent, etc. You can get those 3-ring business card sheets at any office supply store (maybe even Target). I have three sheets and only two card slots left!

Photobucket

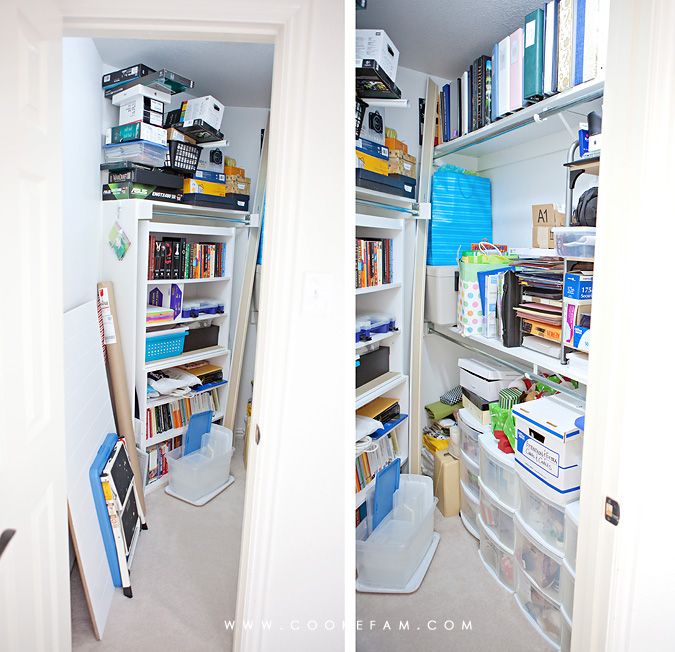
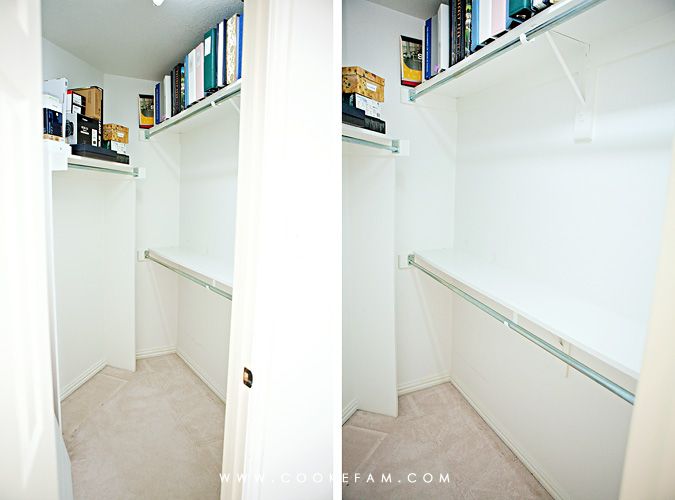
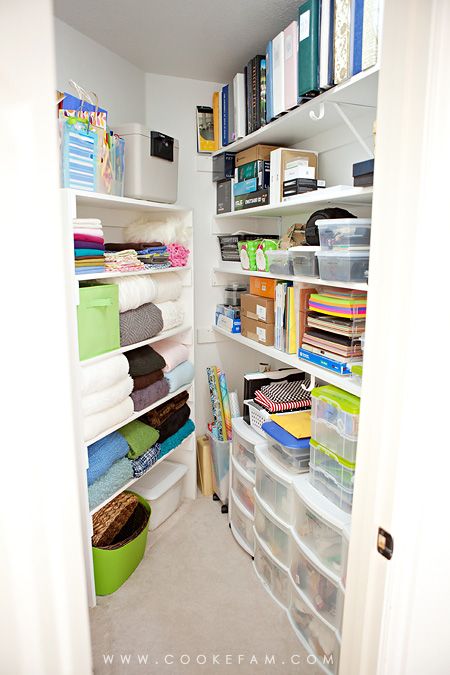
2. To-Do:  I no longer use this section for daily to-dos. I just found that having my notebook constantly open so I could see my to-do list was not appealing to me. Instead, I keep a small notepad on my desk on which I keep a running list of things I need to accomplish. Usually I start a new list about once every week. I've been doing it this way for a while now and it really works for me. But, I still use this section to keep a list of long-term projects: paint front door, remove drapery in dining room, add shelves to office closet, design and print family photo albums, clean out files. This is not a massive list that has everything I want to do to the house or organizationally, etc. It is a list meant for projects that really are a priority for me in the coming months, and at the furthest, to the end of the year.

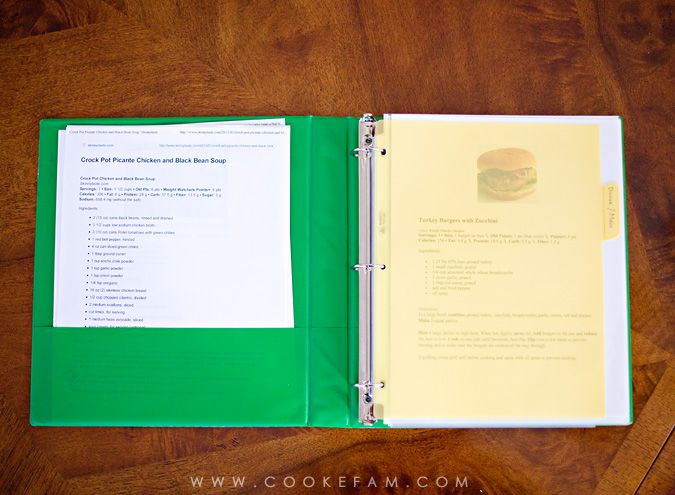
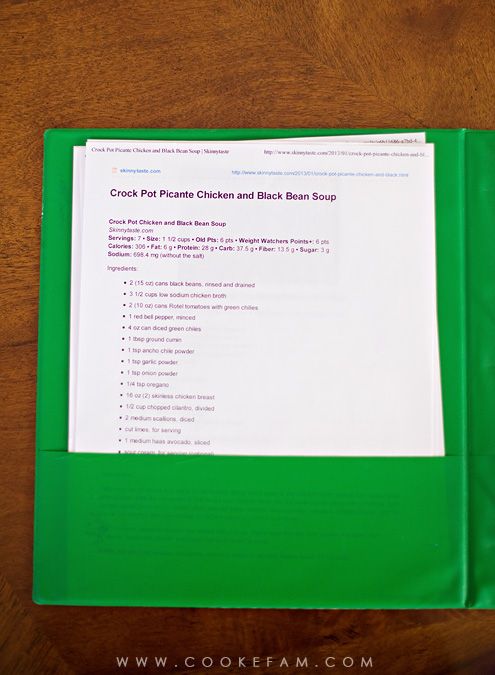
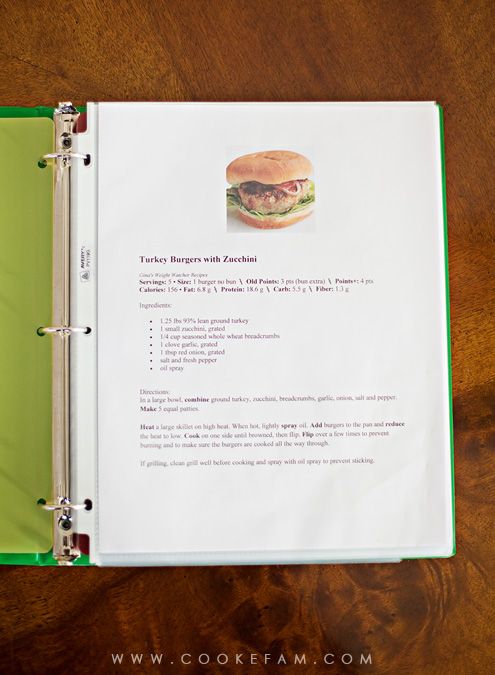
3. Menus / Meals: I use this section differently now too. And mostly because of Pinterest! If I see a recipe that I want to make, I usually encounter it online so I just pin it to my recipe board. I've even looked up recipes that I've seen in a magazine and pinned it from the website so I don't have to keep track of a paper copy. This works well because when I sit down to do my menus for the week (I still menu plan weekly), I can look at my board if I need ideas.

I also no longer print out a copy of my menus for the week or my grocery list for my notebook. I found that it just wasted paper. I print out one copy of our weekly menus that I keep in a drawer in the kitchen so that I can refer to it throughout the week. And I print one grocery list right before I go to the store.

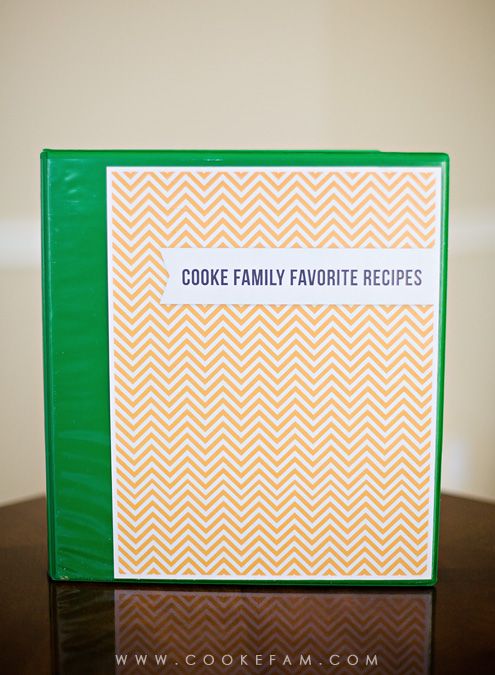
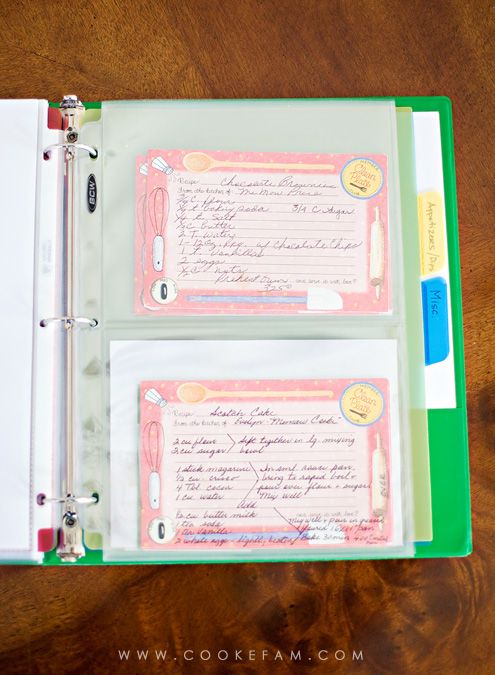
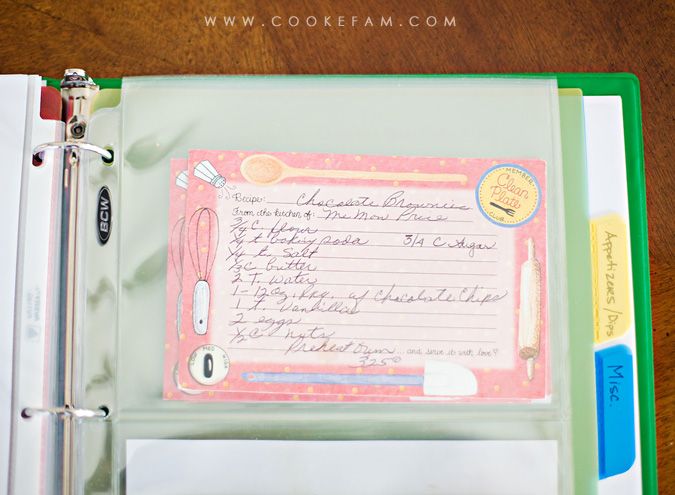
One change to this section is that I now keep a list of favorite recipes so that if I need a winner, I can go look at what my family really loved or the recipe that was a big hit with friends. This is just a hand-written list that I add to when I try a new recipe that's a keeper! (Some of them aren't).

4. Gifts: I still use this section a lot, especially at Christmas time. I keep a wish list for each of us (me, Casey, Ethan and Logan) so that when I think of (or hear about) something that person would like or need as a gift, I can write it down. This is so handy and I can even give out ideas to family members when they ask for birthday or Christmas ideas. I also still make a yearly spreadsheet for Christmas gifts so I can stay on budget and keep track of what has been purchased and what gifts still need to be bought. There is also a sheet in this section to write down any ideas I have for other family members that might occur to me at random times.

5. Goals: I still have this section and I use it for mainly personal goals, but I think it would be a great place to put a family mission statement or yearly goal for your family. That's something we've discussed doing but haven't tackled yet.

(These two tabs are new to my notebook:)

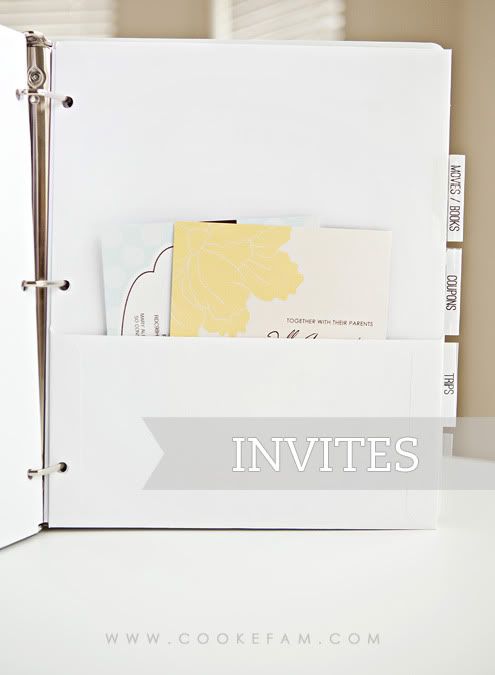
6. Invitations Pocket:  I keep my calendar exclusively on Google Calendars, which synchs with my iPhone. But, I do like a place to keep any invitations we receive for events we plan on attending. If we aren't attending, I RSVP and then discard the invite in the recycle bin. If we're going, I RSVP, enter it on my calendar, and then stash the invite in a pocket in my notebook so I can refer to it later. This is helpful because it ensures I don't loose the vital info on the invite. (My dividers in my notebook each have a pocket on the front.)

Photobucket

7. Movies / Books:  These are two simple lists of movies we want to see and books I want to read (or want to get for the boys to read). I also have a list of books I've lent out (and to whom) that I want to make sure I get back. We don't rush out to the theater every time there is a movie coming out that we want to see, so sometimes I jot it down on my list to reference later when we're looking to rent/stream a movie. (I have to credit Mary, who commented on my last notebook post that a books tab would be a good idea. She had several other good ideas in that comment too!)

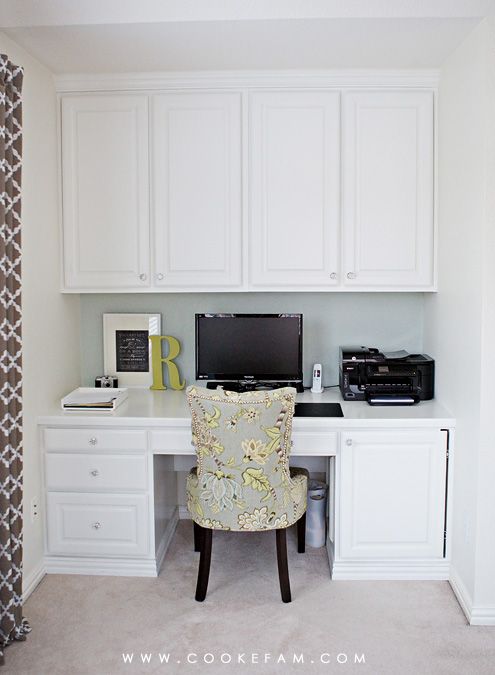
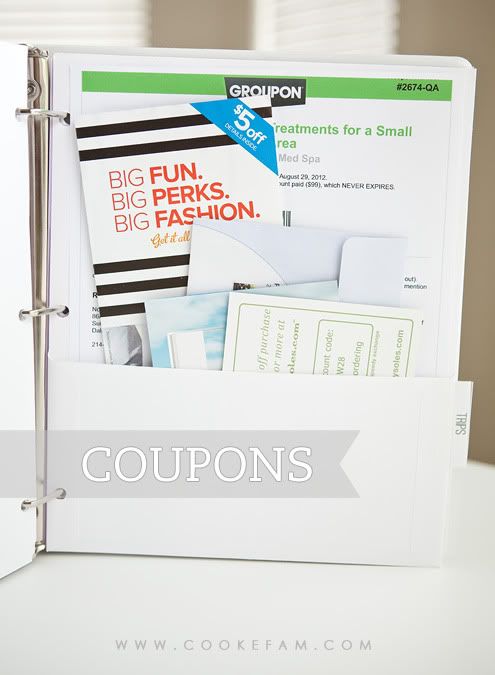
8. Coupons:  This is where I keep any internet-related coupons that I might want to use. Coupons that are for in-store use are kept in a small plastic envelope in my purse so I always have them with me. But coupons that are for internet stores or that can only be used online are stored in the pocket of this tab's divider. My notebook stays on my desk mostly, which is right by the computer, so I have these handy if I want to use one.

Photobucket

9. Trips:  This one only gets used if I'm planning a trip, but it sure is handy to have a place to stash all the related documents as I'm planning. It might be a packing list, itinerary, handwritten list of things we'd like to see or do, etc.

My notebook is actually a little smaller than it used to be. It is more streamlined and efficient. When I set up my notebook the first time, I had not used one before so I didn't know what would work for me or not. In using it for a little while, I realized what I wanted to keep, get rid of, and add. Organization only works if you have a system that will stick. If it doesn't work for you, then you won't stick to it. In that case, change is good!

Tuesday, September 27, 2011

Cookefam Free Printables

I am making several of the things I've designed in the past for my own use, available as downloads here on the blog. I have benefited from downloading graphics and design from others, so I thought I'd upload and share as well. This post will be available through the "printables" button on my sidebar for future reference.

Please feel free to use these for your own projects, just don't repackage/redesign any part of them for sale or profit, please. Thanks!

*CLICK ON THE PHOTOS TO DOWNLOAD* 
When the Google Docs page fully loads, go to "file" on the far left and select "download original."

5x5 Monogram: Each monogram tile is sized to 5x5. All the letters of the alphabet are included in the download as well as a blank tile and the ampersand (&). I used this monogram in my upstairs gallery wall.

Photobucket


Silhouette Frames: These are blank for you add a silhouette, as I did in my upstairs gallery wall, or anything else that strikes your fancy. Each frame is sized to 5x7.
Photobucket

Household Notebook Cover: I updated my household notebook cover a little while ago to look like this except with our last name included on the label. The cover is sized to 8.5 x 11.

Photobucket


Design Notebook Cover: This is the cover I used on my design inspiration notebook. It is sized to 8.5 x 11.
Photobucket


Thank You Notes: I designed these to use as gifts for Ethan's preschool teachers last year. I had them printed at Shutterfly, I think, although there are several places that allow you to upload your own design. Or just print on cardstock and let them be thank you postcards instead of folded cards. These can work as gift tags too. Each card is sized to 5.25 x 3.25.

Photobucket


Chevron Background with Tags: This is the background I used for my three coins in my upstairs gallery wall. You can use it for coins or anything else. Put your own writing on the tags to give details about your display. This background is sized to 5x7.

Photobucket


Winnie the Pooh Quote: I also used this in my upstairs gallery wall. It is sized to 4x6.

Photobucket


Bag Tag: I made this initially for Logan's diaper bag, but have also made these for friends as well. I usually put a monogram or the baby's name and then the parents' contact information on the back. You can add whatever text you would like. Just print out, cut, and then fold in half. I use self-laminating luggage tags to make these bag tags durable and water-proof.

Photobucket


Cars Party Food Label: I designed these for Ethan's 3rd birthday party. I printed them with the names of the dishes/drinks I was serving.

Photobucket


Cars Party Food Flag: Another design for Ethan's 3rd birthday party. Just print, cut out, and fold in half around a toothpick and secure with glue or tape. I used these as toppers for Ethan's cupcakes at the party. The download includes a set with the #3 on them and a blank set for you to add your own number or letter.
Photobucket

Cars Party Favor Bag Topper: This topper (created for Ethan's 3rd birthday party) fits a 5 inch favor bag. Just print, cut out, fold over the top of the bag, and staple in place.

Photobucket


Cars Thank You Notes: These are sized to 5.5 x 4. They can be printed on cardstock from your printer or you can have them printed somewhere.

Photobucket


Valentines Treat Topper: I made these for Ethan's preschool friends last year. They fit on top of a regular snack or sandwich bag. Just print, add your child's name, and fold in half, securing with a staple to the bag.

Photobucket


Teacher Halloween Treat Topper: I made these for Ethan to give to his preschool teachers last year at Halloween. We had made some pumpkin treats and put them in regular sandwich bags. Print, fold, and secure with a staple. You can also write a message on the blank part of the back.

Photobucket


B is for Boat Print: I made this for the boys' bathroom. It prints at 8x10. 

Photobucket


Halloween Treat Topper: Just another treat bag topper we used to give treats to Ethan's preschool teachers, but this template is generic so it can be given to anyone. The download does not include Ethan's name so you can fill in the name of your baker! Print, fold, and attach to a regular ziploc bag with staples.

Photobucket


The Thankful Tree: I used this label on my Thankful Tree to write things we are thankful for during the month of November leading up to Thanksgiving Day.

Photobucket

Thanksgiving Treat Topper:  A festive, thankful, topper for gifting treats at Thanksgiving. I used this to gift some hot chocolate to Ethan's preschool teachers.

Photobucket


Christmas Tags: Use for an Advent calendar like I did, or just for gift tags.

Photobucket

Christmas Treat Toppers: (4 styles that all fit over a standard ziploc bag.)

Photobucket

Photobucket

Photobucket

Photobucket


Dr. Seuss Quote: My favorite from "How the Grinch Stole Christmas."

Photobucket


(Puppy) Party Invitation and Food/Drink Labels to match:
Photobucket

Photobucket

A Valentines Bag Topper (best used with a sticker gift or something similar):

Photobucket

Photo Scavenger Hunt for Kids:

Photobucket

Printable Quotes used in my office:

Photobucket

Photobucket

Photobucket

Another Valentines Tag. This one was used to label glow sticks as Valentines gifts.

Photobucket


A Teacher Appreciation Bag Topper (seen here).
 photo TweetTeacherTreatTopperBlogImage_zps7cd4fd5a.jpg

Buzz Lightyear Party Printables (used at Logan's 3rd Birthday Party):
 photo BuzzFoodLabelBlogImage_zps0bc2597d.jpg
 photo BuzzCupcakeToppersBlogImage_zps11ab4e55.jpg

 photo BuzzCenterpieceBlogImage_zps26d6290a.jpg

 photo BuzzThankYouBlogImage_zps0be51675.jpg

An "Out of this World" Valentine seen here:

https://drive.google.com/file/d/0BzzrViCgjs5fNmpiYk9YZG5hUVE/view?usp=sharing


Pirate Valentine seen here:

https://drive.google.com/file/d/0BzzrViCgjs5fTldIRHEyN19LVjQ/view?usp=sharing


Happy PINK hearts Valentine seen here:

https://drive.google.com/file/d/0BzzrViCgjs5faXdBb2wyTTZZcDQ/view?usp=sharing

A couple of Father's Day cards with a way to make it your own, shown here:

 photo Fathers Day Minion Card blog image_zpsgb2u5s8p.jpg
 photo Fathers Day Minion Card 2 blog image_zpsfcb4nujx.jpg