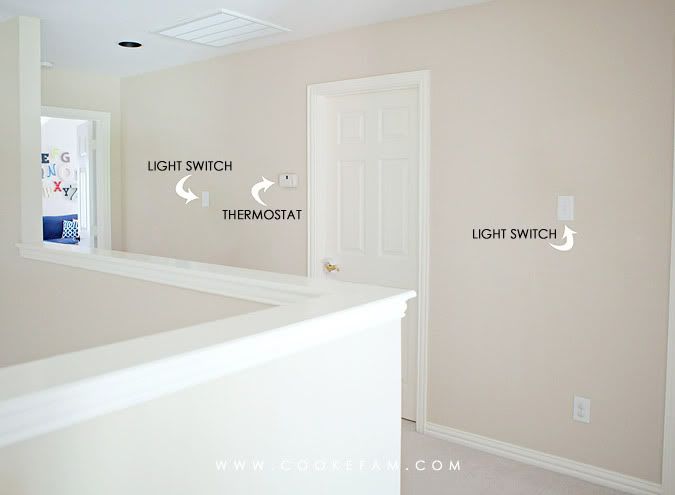
There are two awkward walls in our upstairs hallway that I've been wondering how to decorate. I say "awkward" because there are light switches and/or thermostats right smack in the middle of these walls, which makes hanging a series of photos in a symmetrical arrangement completely impossible. Why does that always seem to happen? Home builders...please step up and explain yourselves.
Anyway, I have refrained from doing anything with those walls because I just didn't know what to do and nothing was inspiring me. Until I saw what John and Sherry over at Young House Love did with their hallway walls. A gallery wall. I mean...a serious gallery wall. They basically "wallpapered" their hallway with frames. And I love it.
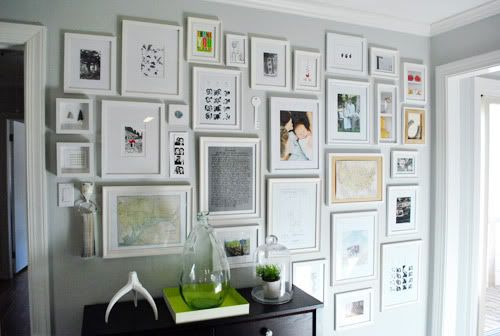
The greatest thing about this wall art solution is that you can totally work around a light switch or thermostat using an asymmetrical layout and different sized frames. But, while I am drawn to the complete "wallpaper" effect, I knew it would read a little too cluttered for me in my own home, so I aimed for a scaled-back version.
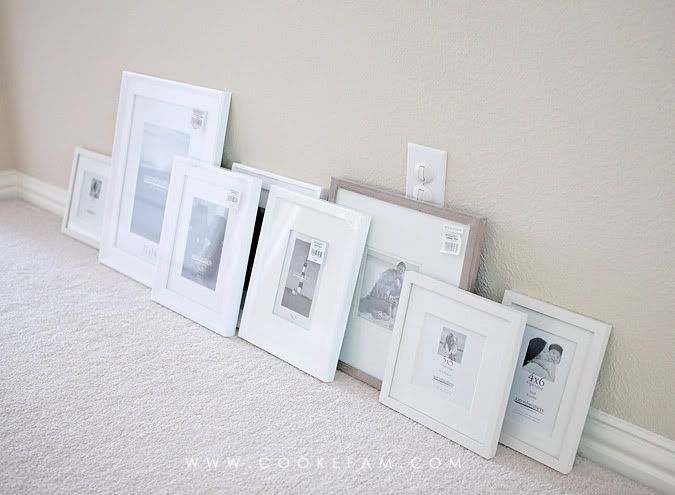
First, I bought quite a few white frames (readily available at Ikea, Target, Aaron Brothers, etc.). I had to paint the large square ones because I couldn't find them in white.
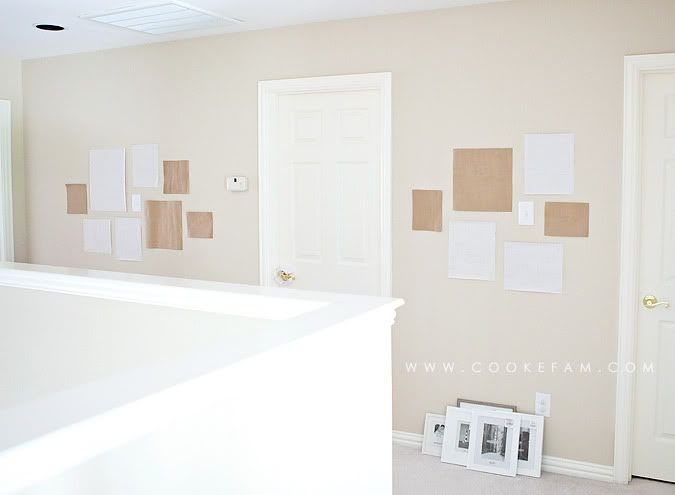
Then, I traced and cut out a template for every single frame on brown paper and/or leftover wrapping paper. Using each frame as my guide, I marked on the paper templates where the nail holes should go. Once that was done, I set to work taping them up on the walls until I was satisfied with the arrangements. I even ended up getting some money back because I bought more frames than I needed.
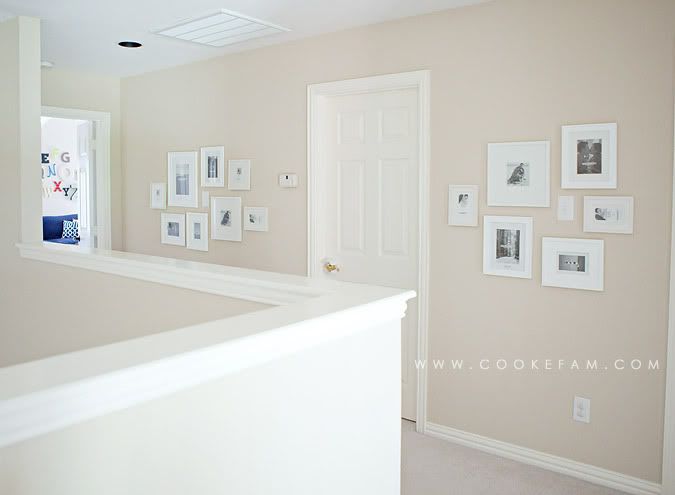
After hanging the frames (which was a breeze, thanks to my templates), I had to decide what I wanted to go in each frame. I had SO much inspiration that I've gathered on Pinterest from around the internet. Just take a look at my "wall art" board to see some of the ideas I was working from. There are too many to list them here.
Here's the finished wall gallery that I ended up with after filling all the frames (which took me a couple of weeks.)
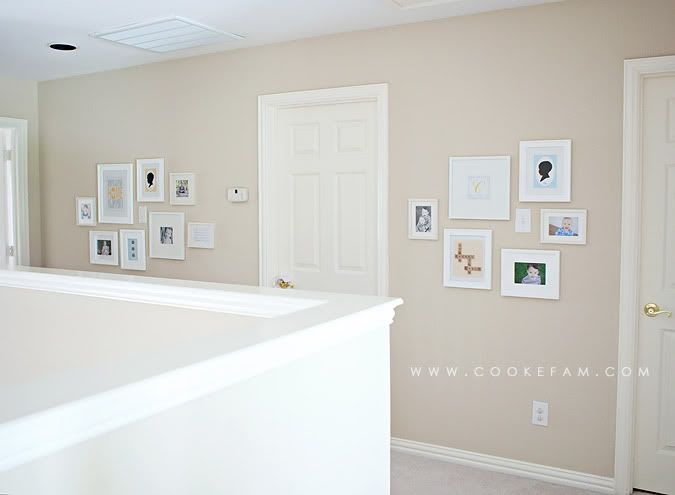
And here is a closer look at the left and right grouping of frames:

Anyway, I have refrained from doing anything with those walls because I just didn't know what to do and nothing was inspiring me. Until I saw what John and Sherry over at Young House Love did with their hallway walls. A gallery wall. I mean...a serious gallery wall. They basically "wallpapered" their hallway with frames. And I love it.

Image via Young House Love
The greatest thing about this wall art solution is that you can totally work around a light switch or thermostat using an asymmetrical layout and different sized frames. But, while I am drawn to the complete "wallpaper" effect, I knew it would read a little too cluttered for me in my own home, so I aimed for a scaled-back version.
First, I bought quite a few white frames (readily available at Ikea, Target, Aaron Brothers, etc.). I had to paint the large square ones because I couldn't find them in white.

Then, I traced and cut out a template for every single frame on brown paper and/or leftover wrapping paper. Using each frame as my guide, I marked on the paper templates where the nail holes should go. Once that was done, I set to work taping them up on the walls until I was satisfied with the arrangements. I even ended up getting some money back because I bought more frames than I needed.


After hanging the frames (which was a breeze, thanks to my templates), I had to decide what I wanted to go in each frame. I had SO much inspiration that I've gathered on Pinterest from around the internet. Just take a look at my "wall art" board to see some of the ideas I was working from. There are too many to list them here.
Here's the finished wall gallery that I ended up with after filling all the frames (which took me a couple of weeks.)

And here is a closer look at the left and right grouping of frames:
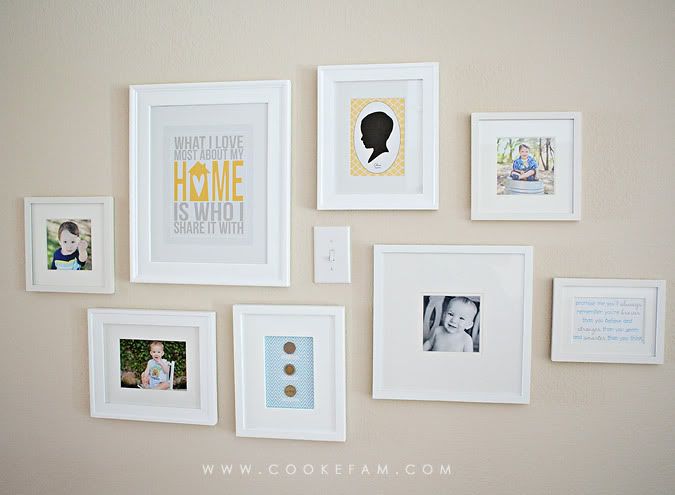
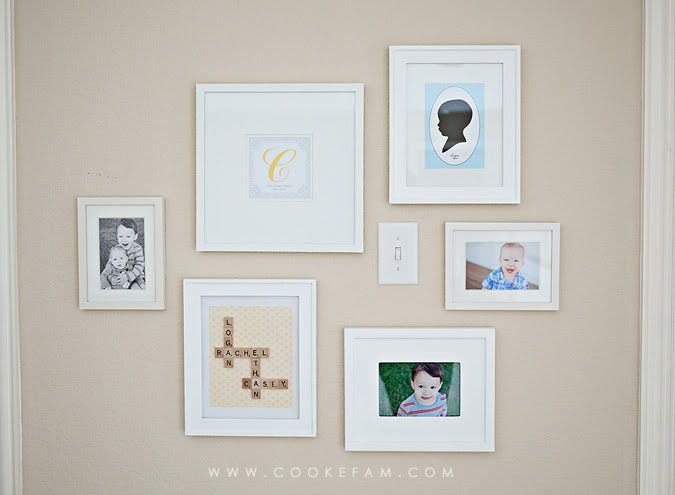
Other than the photos, here are the details for a few of these things:
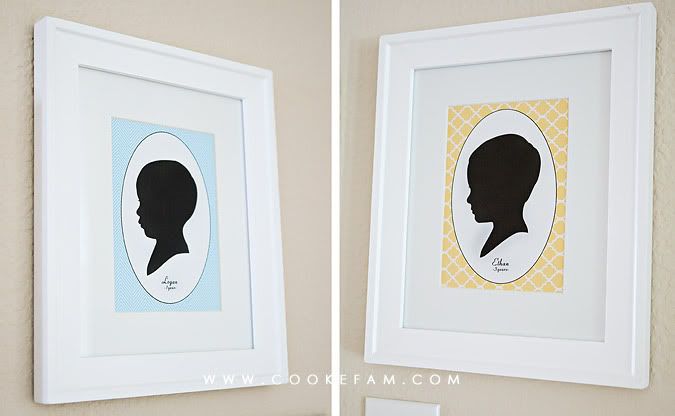
Silhouettes of my boys. I absolutely love these. Their profiles are so sweet to me. It's a mom thing. (I attempted to DIY this using Photoshop but was not totally happy with the results I was able to get. So, I outsourced this one to Pretty Faces on Etsy. She did a fabulous job and had a really fast turnaround.) She just sent me a digital copy of the silhouette from a photo I provided and I added the oval, text (name and age), and the background patterns using Photoshop and then printed them each out on cardstock.
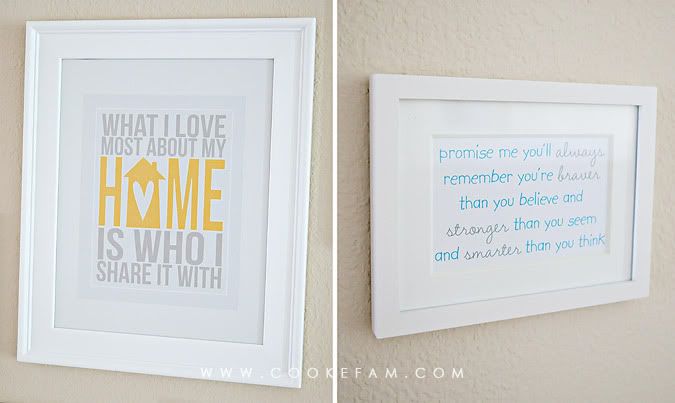
The "What I love most..." quote was a free download from the blog, Eighteen25. She provides a download in several color schemes...go check it out. I got the The Winnie the Pooh quote idea from another free download. This one was from Momtog. If you check out her site, you will see that her download is super-cute with a cheery yellow background and I almost used it just as she had it. But, ultimately, I really needed it to be in a horizontal format. So I made my own in Photoshop. I decided to go with mainly just the words instead of a colored background after trying it both ways.
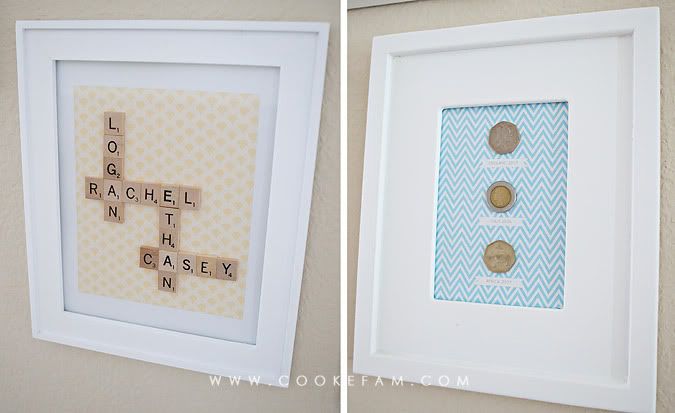
Scrabble tiles spelling out our names. It took me quite a few sketches on paper to come up with this arrangement that would be compact as possible (for framing) and still fit all our names. I bought the scrabble tiles on Etsy, of all places (for only $2.95). I created the background pattern in Photoshop and printed it on cardstock. The tiles are just glued on with hot glue.
The coin collection came from our stash of foreign coins that we've collected from trips over the years. I've always wanted to pull them out and display them somehow. These three particular coins are from the three trips to different countries that Casey and I have visited together. The first one is from England, the middle one is from Italy, and the last one is from Africa. Under each coin, I put the place and the year we visited. Again, I created the background and text in Photoshop and printed it on cardstock. The coins are glued on with hot glue.
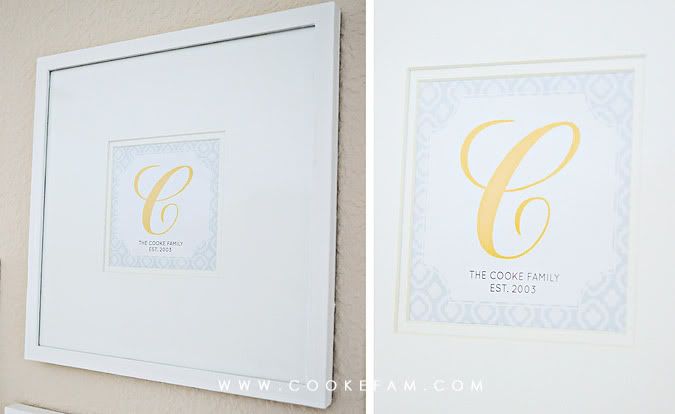
The family monogram is something else I created in Photoshop and printed on cardstock. Gotta love all this free wall art. I might make some of these designs available as downloads in the near future since I've benefitted from others doing that on their blogs. We will see if I can make the time to get them out there.
A final before/after:
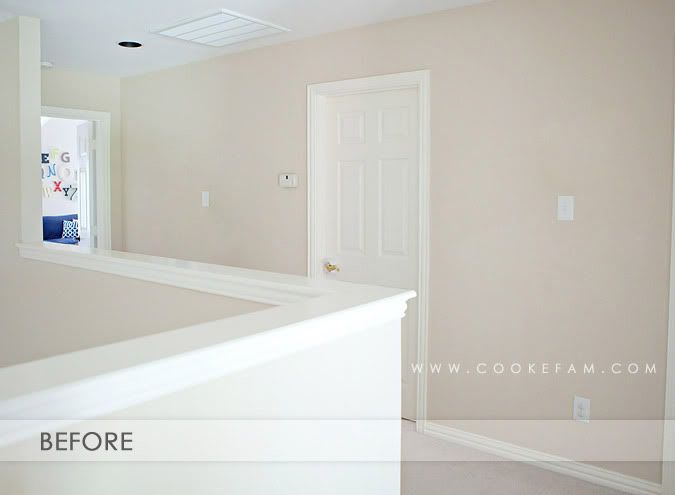
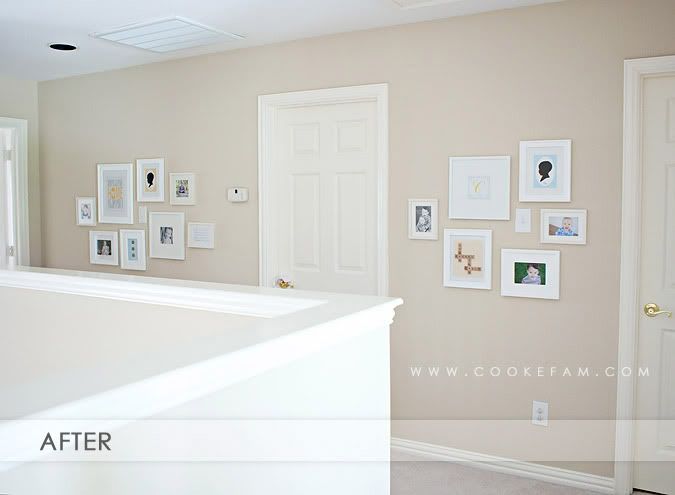
It may not be the most dramatic before/after ever, and it's not even on our main floor where visitors would see it. But I can honestly say that it makes me happy every single time I walk up there.


11 comments:
Love this!
Kristen
Looks great! I love this idea!!
Ok - You are coming over to my house and help me with my hallway! :) Love it! I saw the frames, but not the finished product last Friday - you are quick!
How cute! Don't you love Pinterest? It's helped inspire so many home improvement ideas!
what a neat idea! looks great! I think I need to check out Pinterest!
The scrabble tiles are my all time favorites! :) And I would LOVE it if you put up the free downloads... (hint, hint)
I love 'before' and 'afters'!
Your diy art looks fantastic btw! I love the scrabble tiles with all of your names - such a unique idea! The silhouettes of your children are super cute too :)
Lovely! It turned out just perfect and I love the balance of different things you have featured in the frames other than photos. Gorgeous!
It all looks so good! I might have to copy this idea for our hallway. We have the weird light switch/thermostat combo going, too.
Superb ! Your blog is incredible. I am delighted with it. Thanks for sharing with me.pendant light fixtures
How lovely!!!
http://ourhouseisyallshouse.blogspot.com/
Post a Comment