Showing posts with label Digital Stuff. Show all posts

Friday, June 19, 2015

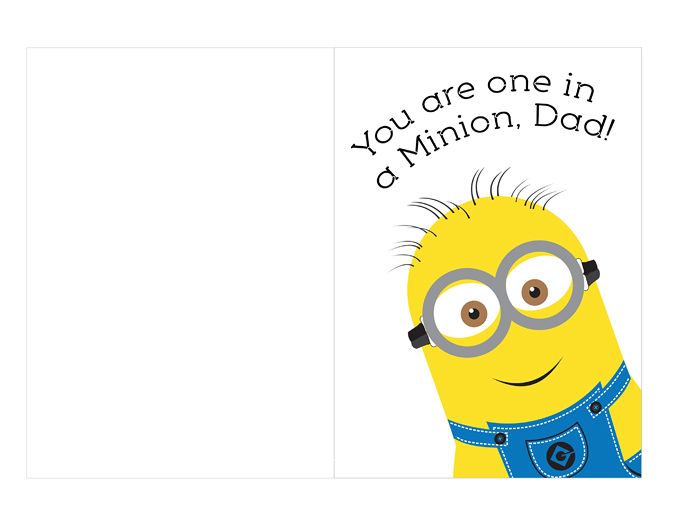
Last Minute Father's Day Card

 photo DX0A6737_zpssbnyfafm.jpg

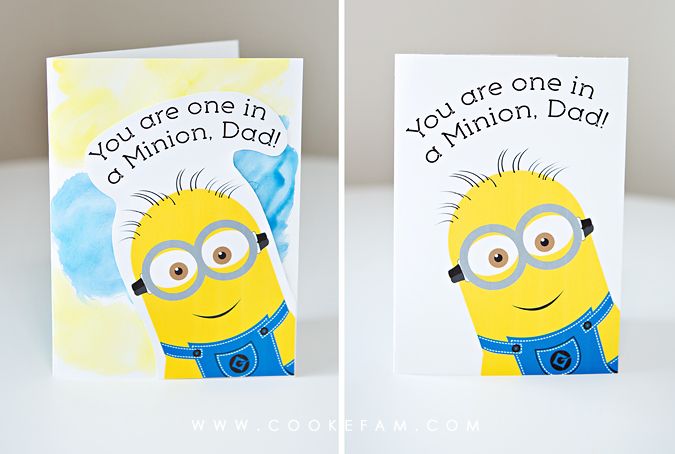
My boys LOVED "making" these cards for their daddy this year. Never mind that we did it at almost the very last minute! I loved that it was super-simple and did not actually require a lot of "making!"

(The cards are available for download at the bottom of this post.)

I just had the boys use blue and yellow watercolor paints to make a background on the front of their cards. Then, I printed the cards out and cut out just the Minions and the words and glued them on the front of their (dried) cards. When that was done, the boys wrote/drew their own messages on the inside of the cards.
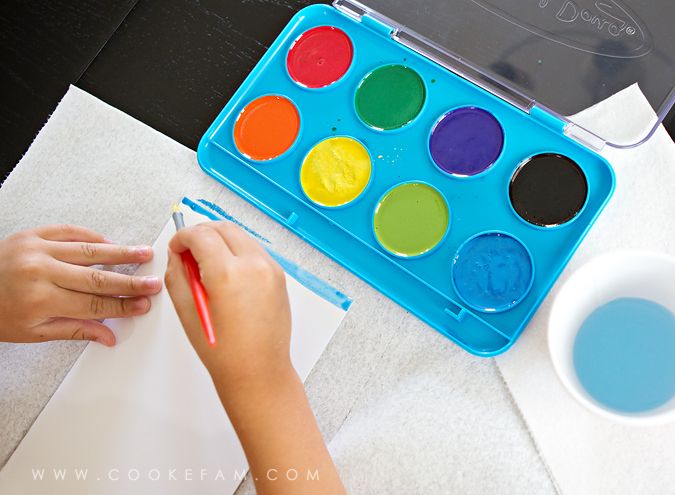
 photo DX0A6732_zpsxxajaykd.jpg

You can either print them out, cut out the entire card on the grey line, and fold it in half...or do like I did and just cut out the Minion and words. Then you can glue it on your own background or design. 

Click on each image to download.
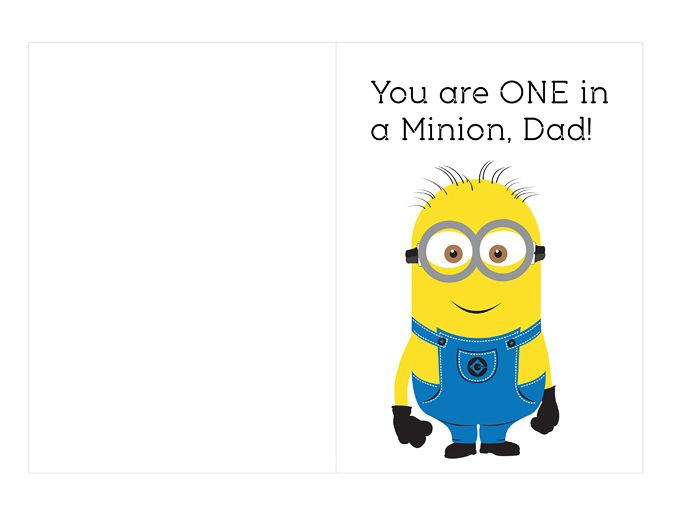
 photo Fathers Day Minion Card blog image_zpsgb2u5s8p.jpg
 photo Fathers Day Minion Card 2 blog image_zpsfcb4nujx.jpg

Monday, February 02, 2015

Three Valentines

Last year around Valentines time, we were still living with  my parents (just past two months). So, we were still living out of boxes and suitcases and I'm completely surprised that I even made valentines for the boys last year. But somehow I did. I never shared them though. And since we're back around to that holiday time this year, it's time to be thinking of those valentines again. 

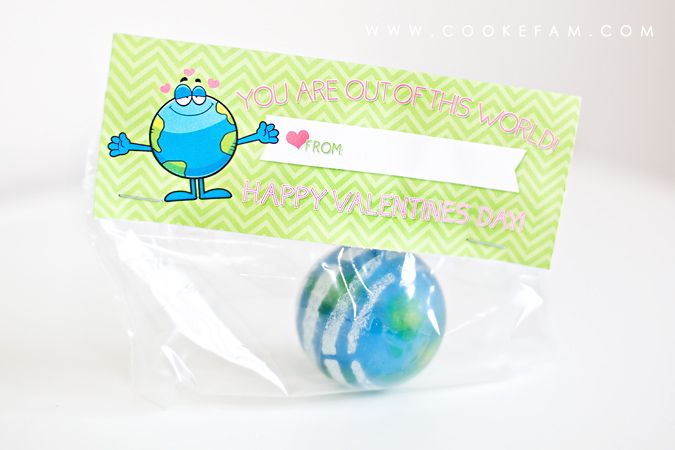
The real catalyst for last year's Valentines was finding a big bag of bouncy balls on clearance at Hobby Lobby that were supposed to look like Earth. I don't know why the idea struck me, but I immediately thought of doing an "out of this world" valentine. And kids love bouncy balls.

So, I made a simple bag topper that my boys could personalize with their names to give to their classmates. Really, really simple and quick. Of course, my boys were concerned that they got to keep a bouncy Earth ball too...we had plenty of leftovers. I'm still finding them in random places around the house. 

 photo DX0A8175_zps3d5a63a7.jpg

To download, click the photo:

https://drive.google.com/file/d/0BzzrViCgjs5fNmpiYk9YZG5hUVE/view?usp=sharing

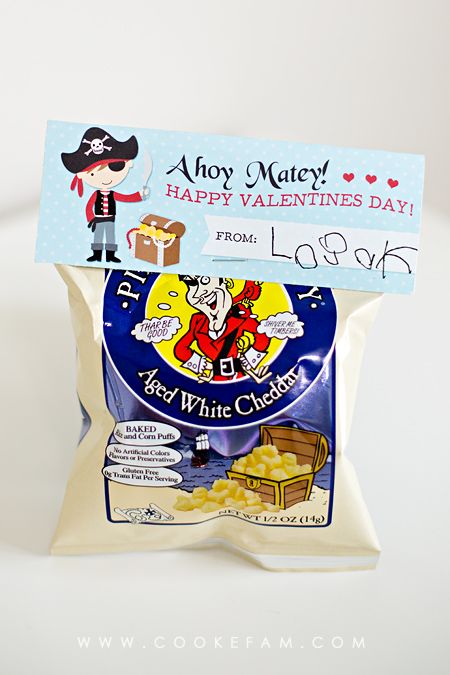
For this year's valentines, I was again struck by something I spotted in a store. This time it was Target and in the Valentines candy aisle. I was looking at lollipops and sweet tarts when the Pirate's Booty bags caught my eye. My boys LOVE Pirate's Booty. They probably have it every single day. And as such, I thought it might be fun for them to share their favorite treat with their friends as a valentine. And the "matey" idea popped into my head too. 

So, two bags of Pirate's Booty later, and a little piratey topper...and we've got some swashbuckling valentines for the boys classmates this year. 

 photo DX0A8182_zpsa8698e49.jpg


To download, click the photo:

https://drive.google.com/file/d/0BzzrViCgjs5fTldIRHEyN19LVjQ/view?usp=sharing


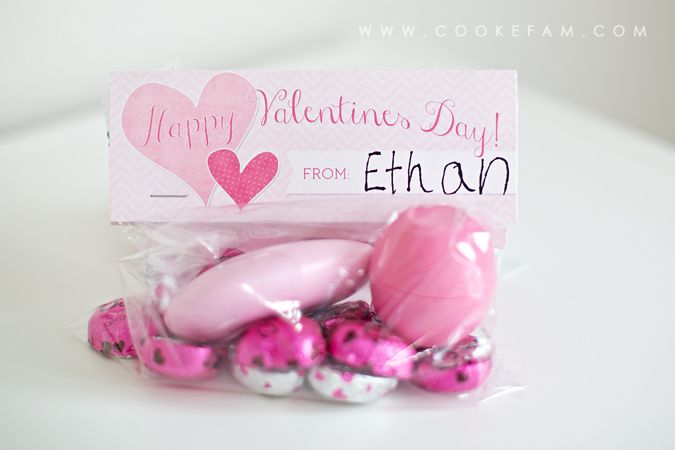
And finally, we wouldn't want to leave out the teachers. The pink lip gloss and hand lotion that's so fun and at every Target checkout counter is kind of appropriate for this pink and red saturated holiday. So, I got one of each for all of the boys' teachers as well as some heart-shaped Dove chocolates. Again, I made a generic (and pink!) topper for the teachers' Valentines so we can show them that they are loved too!

 photo DX0A8184_zps2473d079.jpg

To download, click on photo:

https://drive.google.com/file/d/0BzzrViCgjs5faXdBb2wyTTZZcDQ/view?usp=sharing

Wednesday, January 29, 2014

A Year of Instagrams

 photo IMG_9817_zps43c18ae4.jpg

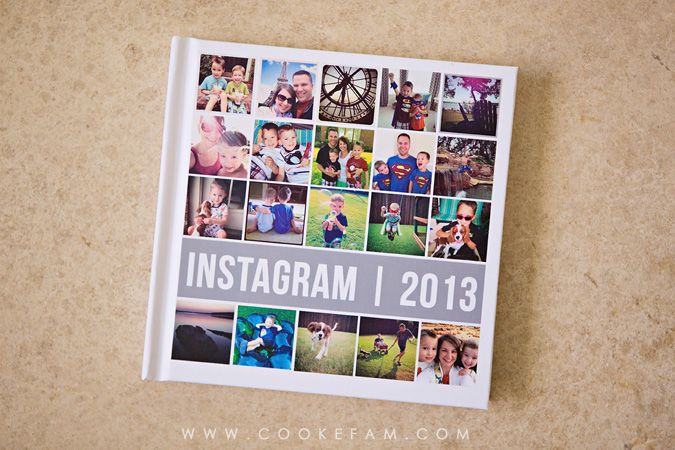
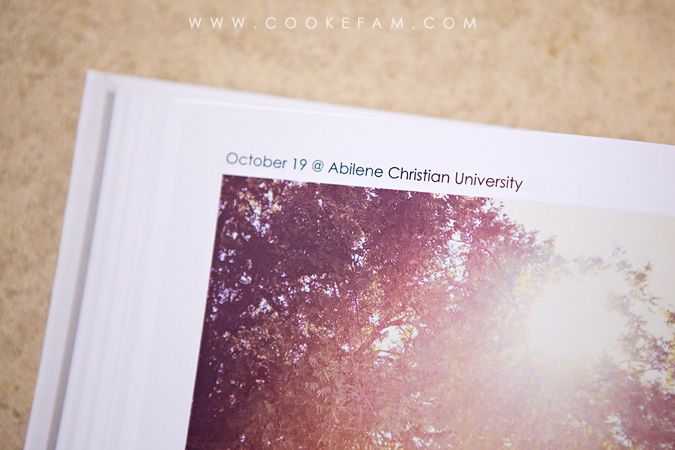
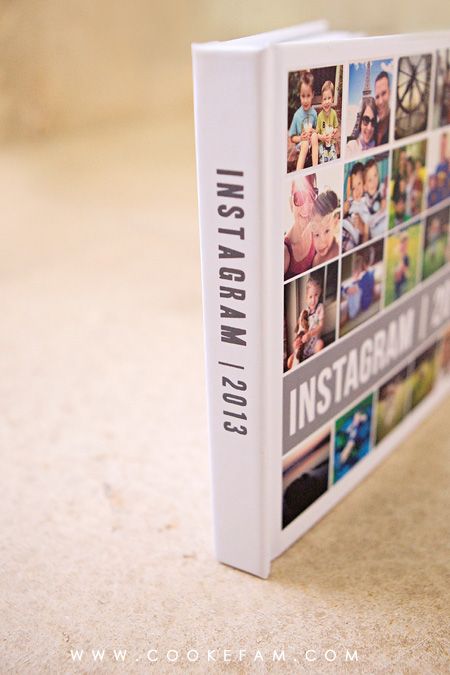
I do not know what possessed me, but I spent the evening of December 31, 2013 putting together a book of all my Instagram photos from 2013. I guess I just realized I'd like a hard copy of those photos. They are certainly not the best quality, but I really do love them.

I used  Blurb to make by book. They offer an option to put together an "instant" Instagram book using their online book software. It's really cool, actually...it automatically pulls all your photos from Instagram and puts them in the book for you. Very quick and easy. For me, there was only one (ok, two) problems. 1) That kind of book only allows you to have 240 pages and I wanted one page for every photo - I had more than 240 photos for the year. And 2) there are not a lot of customization options with this type of "insta-book." 

So, I opted to use the tried and true Book Smart software that Blurb offers. You download it onto your computer and put your book together and then upload it to Blurb to purchase. Lots of customization options for control freaks like me.

 photo IMG_9818_zps2727a698.jpg


I chose the 7x7 square because I just wanted something small. It's really a perfect size for Instagram photos since it's small and square. There's also a 12x12 square available. 

I also used a nifty program online called Instaport to download all of my Instagram photos to a zipped folder on my computer. It's a great way to backup your Instagram photos too. You can select which photos to include in the download by selecting a date range, hashtag, or a couple of other options. 

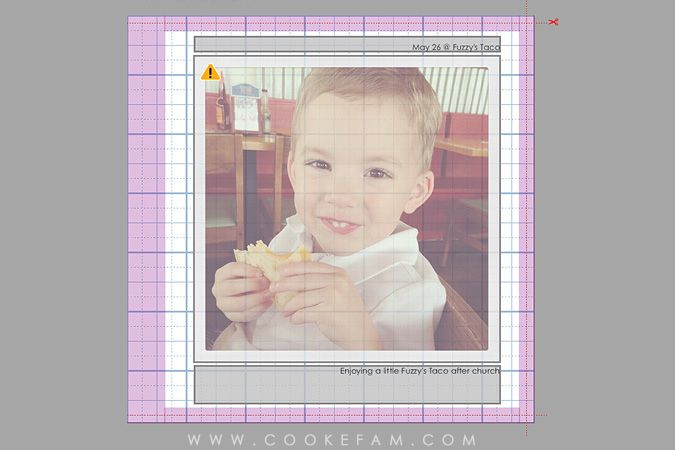
Once the folder of photos was on my computer (and unzipped), I just uploaded them to the Book Smart software and had it "autofill" my book with one photo per page. I made a template for my book that I used for every single page. That's it below, and it's super easy to make.

 photo IMG_9816_zps1467d2d4.jpg

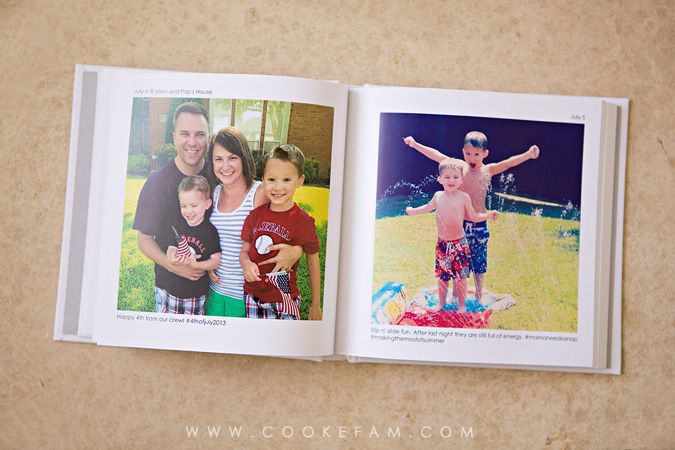
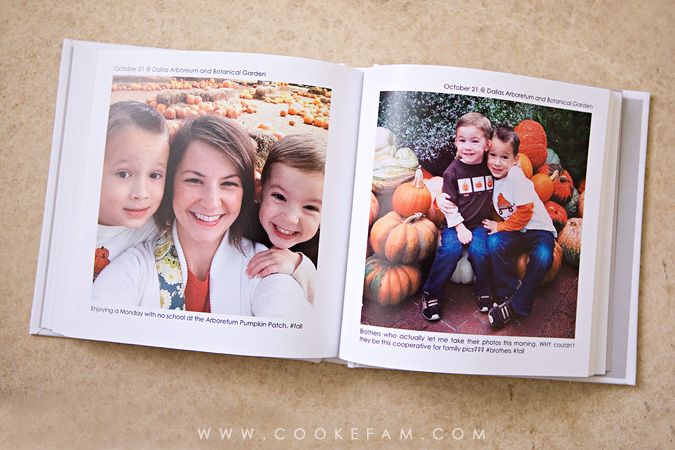
Just take one of the one-photo layouts and tweak it a little bit to be formatted how you would like. I made mine with a square photo taking up the majority of each page. I made a right and left version of this template to account for the binding that takes up part of each page.

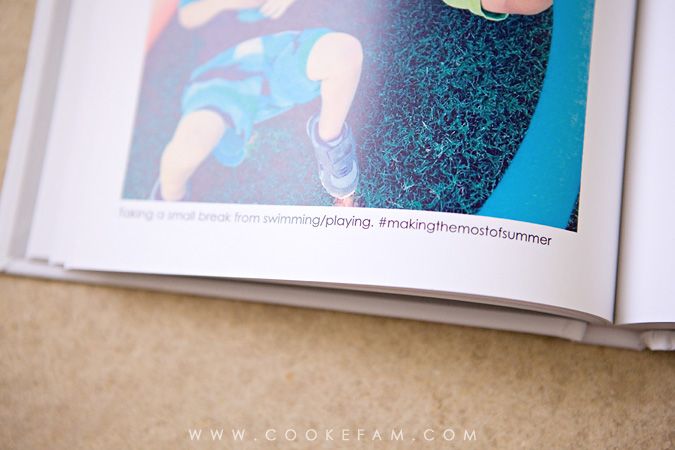
On the top of the page, I made a text box for the date and location (if applicable) of the photo. On the bottom of the page, I made another text box for the caption I originally posted on Instagram along with my photo. Including those two text fields were important to me since they provide a timeline and reference point for each photo (and they were a big reason why I chose to use Book Smart for this book).

 photo IMG_9820_zpsec373957.jpg

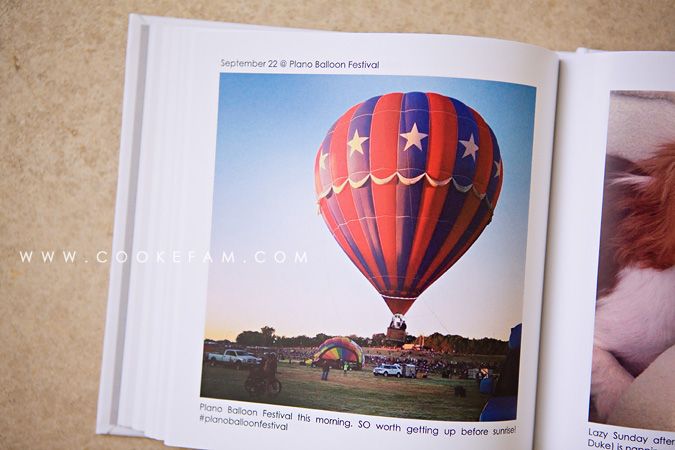
So in a matter of minutes, I had my book populated with all of my photos. But adding the dates, locations and captions/hashtags took a little bit more time. There is no way to pull that from Instagram into Book Smart automatically. But, I just brought up my Instagram profile online and used it to put in all that info. I was able to copy and paste my comment at the bottom, which made it go much faster. 

 photo IMG_9823_zps58254955.jpg

 photo IMG_9831_zpse0f09f6e.jpg

Even though adding the text took some time, I really love how my pages turned out. Now there's context for the photos, yet the layout is still really clean and simple.

 photo IMG_9829_zps6a57a3d1.jpg

For the cover, I just made a simple template in Photoshop and included some of my favorite Instagrams from the year. All it took was a few hours and my book was ready to order. Hooray for (almost) instant gratification...just like Instagram! I'm excited to have this little book along with our big family year books (that I will one day get caught up on). 

 photo IMG_9832_zps3bc24a3f.jpg

Saturday, April 27, 2013

"Tweet" Teachers

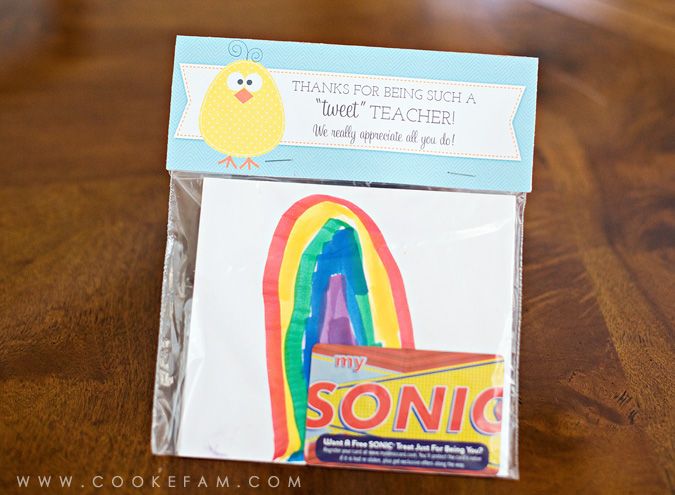
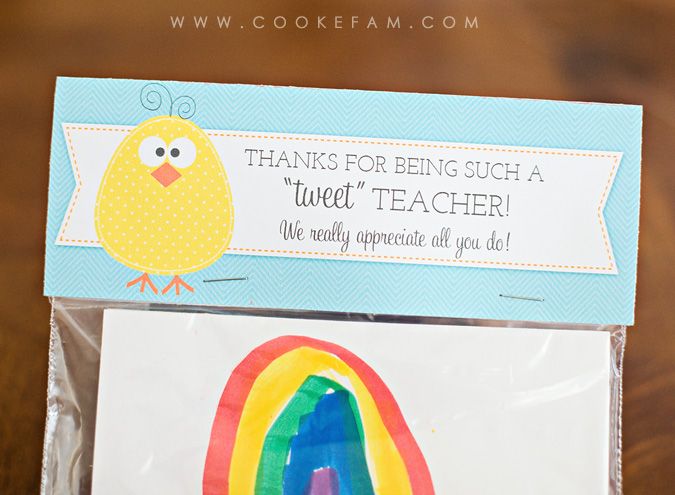
Last week was Teacher Appreciation Week at the boys' preschool. And we do appreciate our sweet teachers. And the fact that they really are sweet inspired this little bag topper. The boys made cards for each of their teachers and we included a Sonic gift card (because we did Target gift cards at Christmas). And there's also a sweet treat in another baggie behind the card...our favorite and super-speedy chocolate cookie recipe that the boys' teachers have grown to love.

 photo IMG_1781_zps47fc52c4.jpg

 photo IMG_1785_zpsdb22d0c7.jpg

Download this topper by clicking the image below if you'd like to use it for yourself:

 photo TweetTeacherTreatTopperBlogImage_zps7cd4fd5a.jpg

Monday, February 18, 2013

iPhone Wallpapers

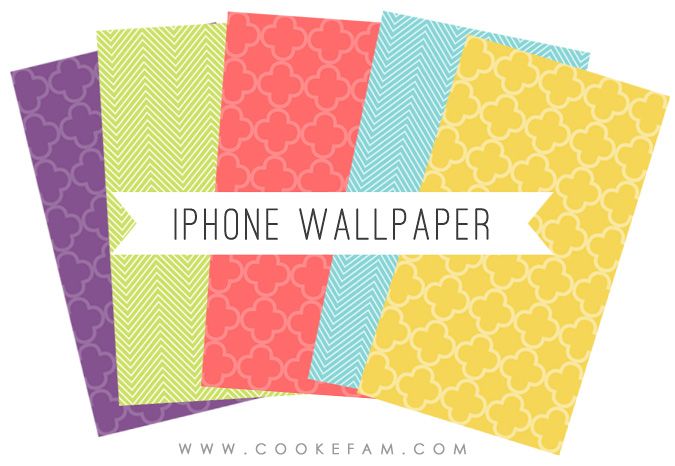
I recently decided to do something different for my home screen wallpaper on my iPhone. Previously, I'd been using a solid purple color for my home screen. I don't like using a photo behind all the icons...it looks cluttered and ruins the photo, in my opinion! But, I wanted to do something a little different, so I made up some wallpapers in Photoshop to use for my new home screen background.

 photo CookefamiPhoneWallpapersJPG_zpsa405e0d5.jpg

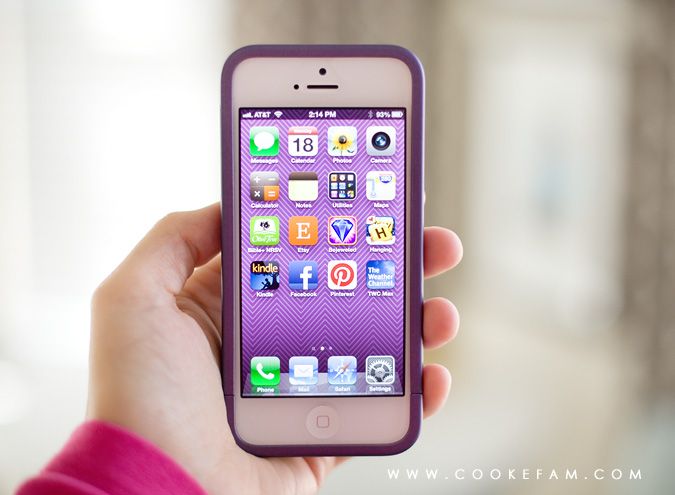
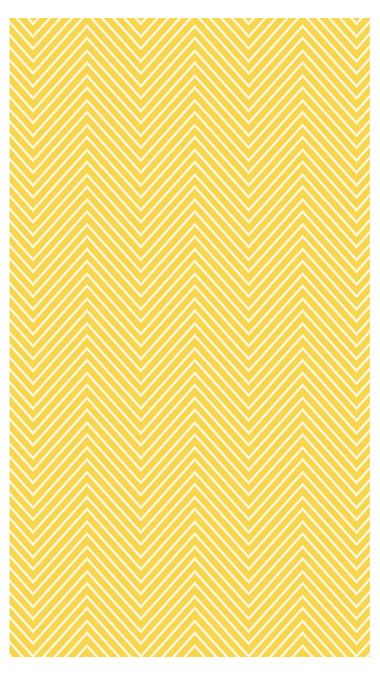
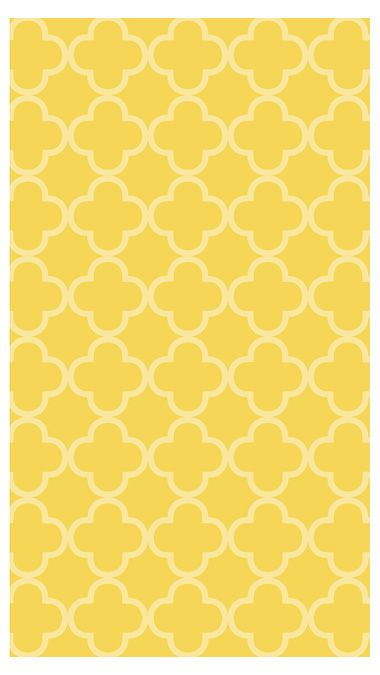
I guess I was in a "spring-y" mood because all those colors are just right for spring. I made one of each color in each pattern (quatrefoil and chevron). After trying many of them out, I ended up quite predictably settling on the purple chevron wallpaper. It is my favorite color and goes so well with my purple phone case:

 photo IMG_7075_zps8b18e3cb.jpg

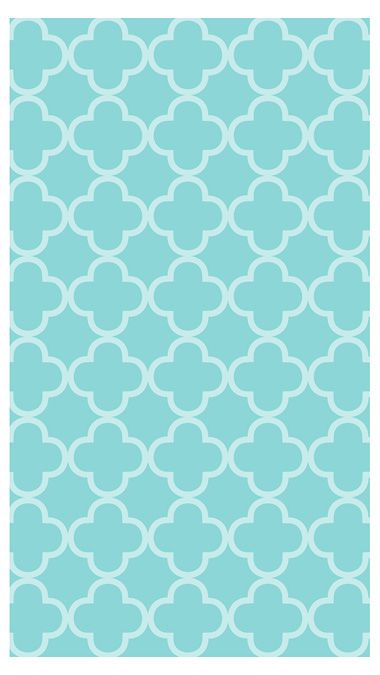
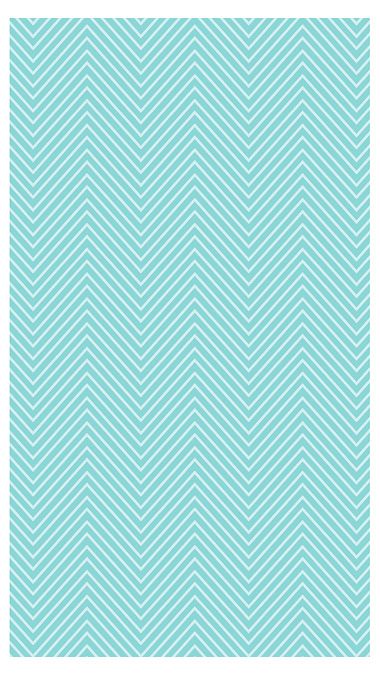
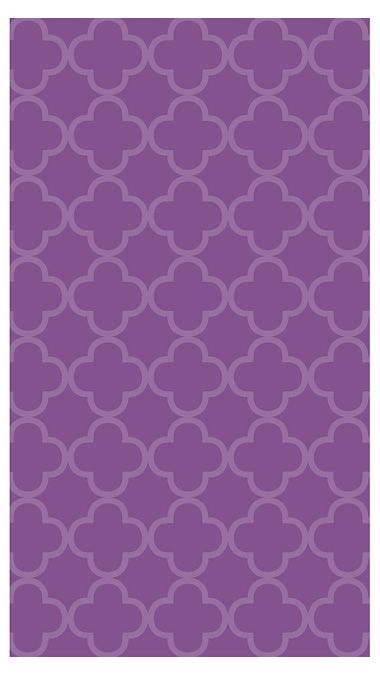
But, I since I'd already made up all the different pattern/color combos, I figured I might as well share them for others to use. There are 5 colors (purple, lime, coral, teal and yellow) and two patterns (quatrefoil and chevron). Each color is available in either pattern.

To download the one you would like, just click on that photo below and then download. They are already sized to the correct ratio for the iPhone 5. If you have a previous iPhone (with a slightly different screen ratio), you can still use these. You will just have to zoom in on the photo a bit to make it fit your screen.
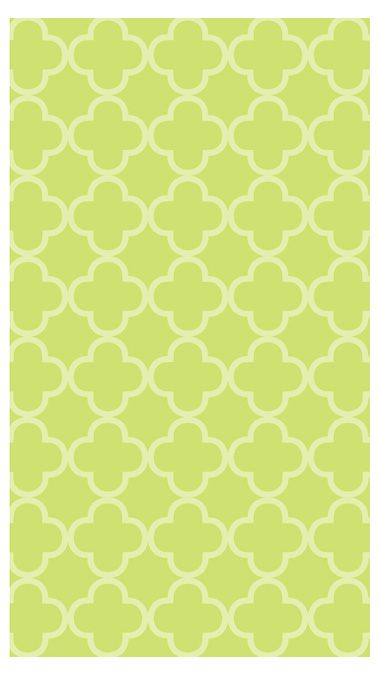
 photo TealQFThumb_zps8e68f611.jpg

 photo TealChevThumb_zpsf3b683f2.jpg

 photo PurpleQFThumb_zps3322f8f0.jpg

 photo PurpleChevThumb_zps04538379.jpg

 photo LimeQFThumb_zps5d84573b.jpg

 photo LimeChevThumb_zps17ccdacc.jpg

 photo CoralQFThumb_zps9f8e35e4.jpg

 photo CoralChevThumb_zps76378818.jpg

 photo YellowChevThumb_zps0b62944b.jpg

 photo YellowQFBlogThumb_zps3b2789b6.jpg

Sunday, February 03, 2013

Framed Quotes (Printables)

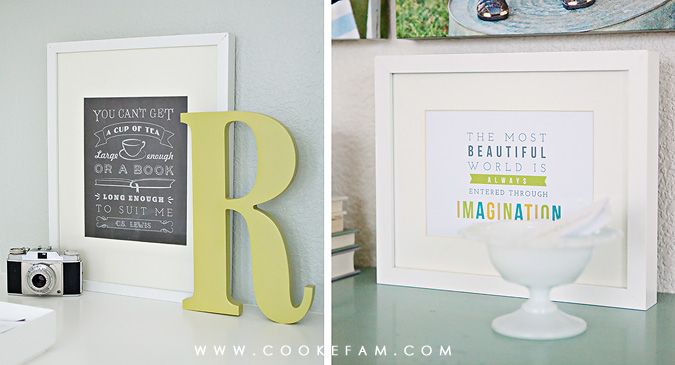
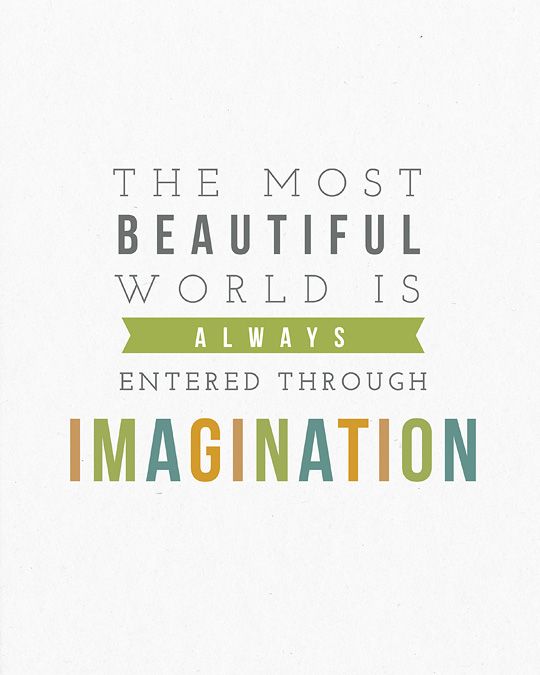
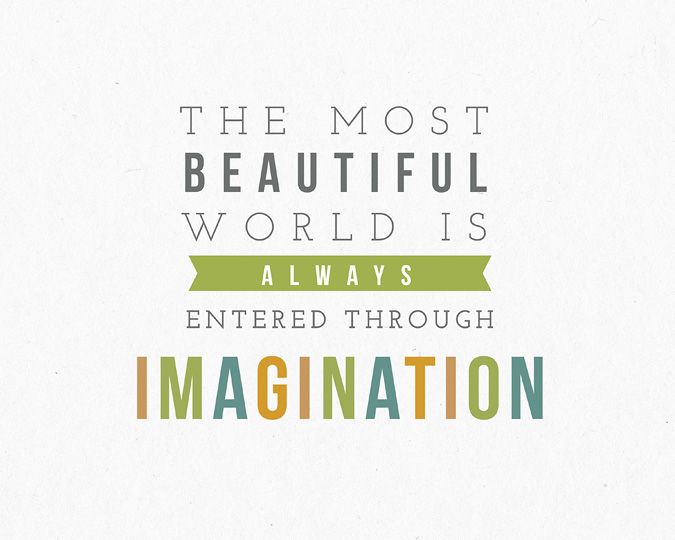
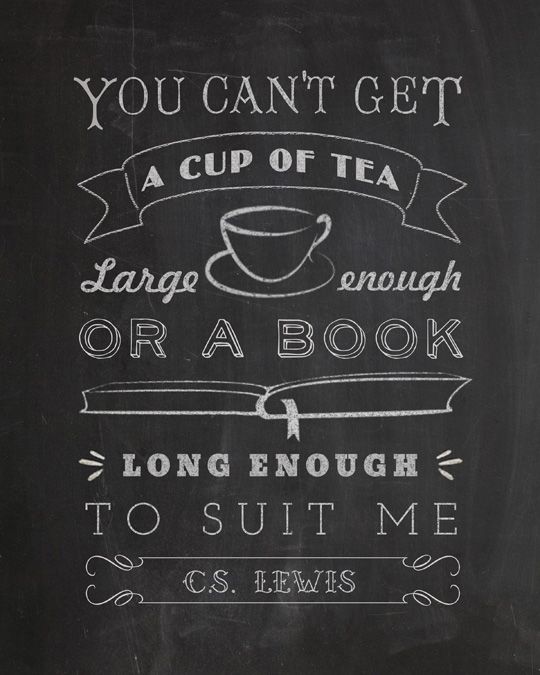
I made two printable quotes for my office because I wanted something meaningful to me as part of the art for the space. They're two different styles, but I love how each one turned out - framed in white Ikea Ribba frames (which come with the mats).

Photobucket

And I've made them available as downloads if you'd like to use them for yourself (click on each photo to download).

Photobucket

Photobucket

Photobucket

Thursday, September 27, 2012

NYC Photo Book

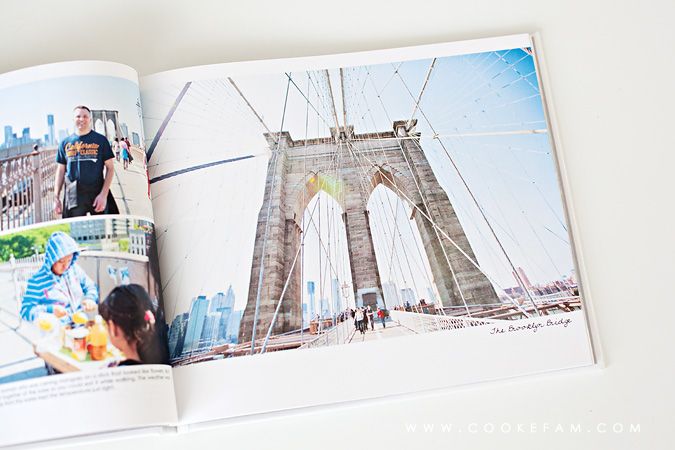
My Blurb photo book of our New York trip arrived yesterday. It came at 6:45pm. And I had been anticipating its arrival all day. Even Ethan knew to be on the lookout for the UPS truck. It was something like Christmas morning for me. And the fact that I finished this one just a little over 4 months since the trip is a new record for me.

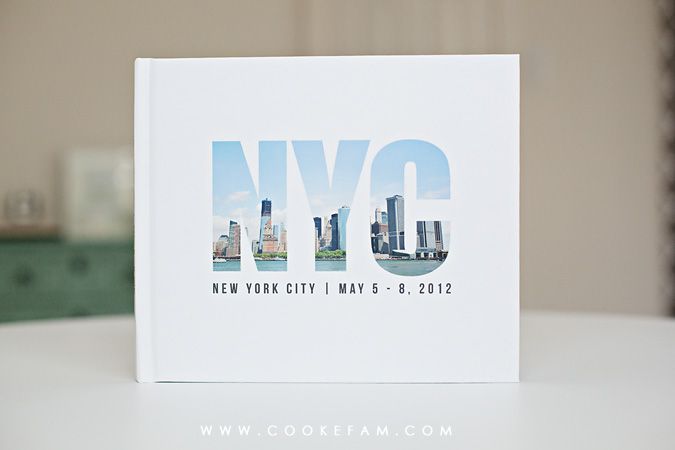
I made the front cover image in photoshop and then used it with the image wrap option for the cover of the book. The photo "in" the NYC letters is one that I took of Manhattan from the Staten Island Ferry.

Photobucket

It's a standard landscape book (10 x 8 in) with 136 pages.

Photobucket

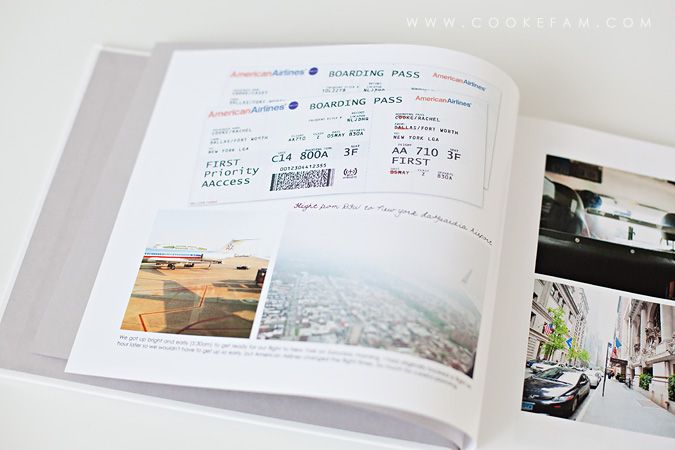
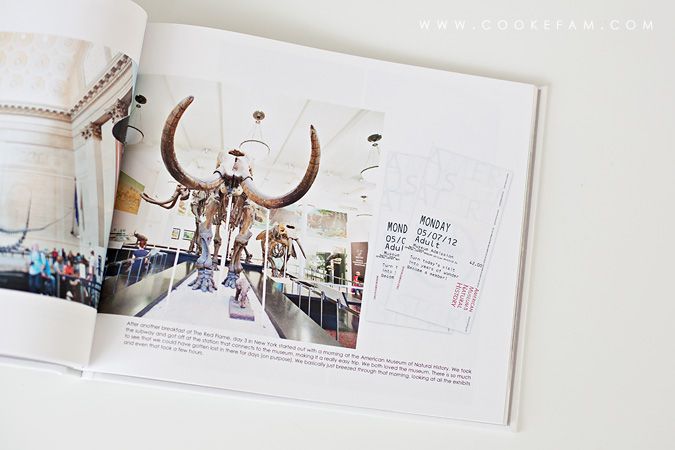
Because we had a few paper items from the trip, I decided to include them in the book by scanning them. Then I created jpg images of them with drop shadows using photoshop. I was not overly concerned with making them true to size, so I just eyeballed it. But, they actually came out pretty close. Below are our tickets on the way to NY.

Photobucket

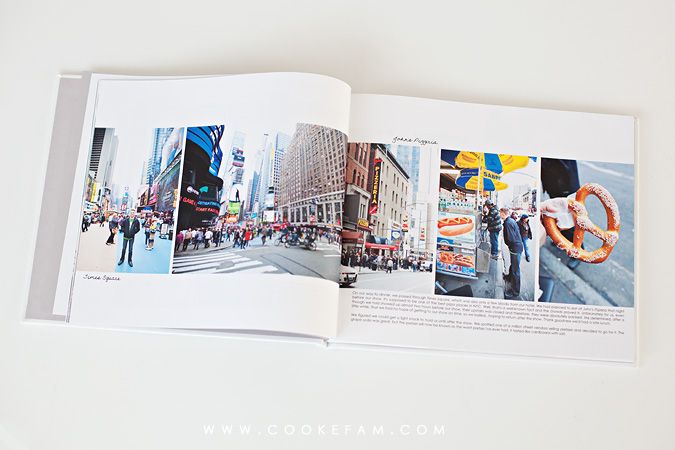
I added some journaling so we could remember what we did and some of the details of the trip. I actually just used a lot of the wording from my blog posts of our trip (day 1, 2, 3, 4).

Photobucket

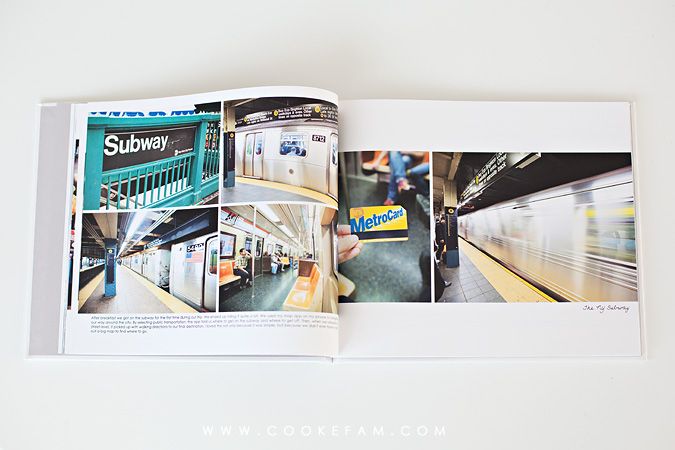
Sometimes (during the trip) I would take a photo of our tickets like I did below with the Metro card. I could have scanned them (because I still saved them), but I favored this photo of the ticket when we were actually on the subway.
Photobucket

One thing (of many) that I love about Blurb books is that you can use your own fonts. Most fonts that are installed on your computer automatically load in Book Smart when you open it. I loved using some handwriting fonts to make this book a little more personal.

Photobucket

Our (scanned) tickets to the American Museum of Natural History.

Photobucket

Another feature of Blurb books created with their free Book Smart software that I love and utilize a lot is their "custom layouts" feature. It allows you to create from scratch or tweak one of their many layouts to suit your taste or needs. I do this for every single page in my books. I am kind of a control freak and I want everything in a specific size and location. Then, you can save these layouts to use in other books that you create of the same size. Brilliant. 

Photobucket

It feels really good to have our photos from the trip printed and not just on the computer. Today, Ethan and I (and sometimes Logan) sat on the couch and looked through the book together. And that's what you're meant to do with photos (and why I believe they should be printed). I'm preaching to myself here as I try to finish up my goal of finally printing our family photo albums this year. It's looking really promising!

(Ok, so after reading my entire post, I realized it sounds like an advertisement for Blurb. I promise they're not compensating me...I just really love their books! For many other reasons not even mentioned here. Just wanted to clear that up. I've made other Blurb books in the past too...my Africa trip book and my emails that I sent my family and Casey during my study abroad semester in Oxford.)